- Products
- Blog
- Stockists
- About
- Contact
Hi there! Today we are sharing lots of projects using the Watery Washes Rubber Stamp Set. This is a great set to use when you'd like to create watercolour wash style backgrounds and accents for your cards. You can stamp them simply with ink, or to create a more watery effect, use water based inks and give the stamp a little spritz with water before stamping to make the inks run and bleed a little to achieve the watercolour effect. If you use a couple of ink colours, it will create a mix and blend of colour. There are so many possibilities with this stamp set!
Let's take a look at some projects. First up is a card by Rachel Greig:

Instructions:
1. Ink up one of the Watery Washes stamps with Mustard Seed and Broken China Distress Ink. Lightly spritz the stamp with water and stamp onto watercolour cardstock. If you'd like to blend the colours even further, use an aquash brush to mix the colours around on the cardstock.
2. Stamp over the top using one of the Brushed Sentiments rubber stamps using Archival Jet Black ink.
3. Mount onto yellow and aqua cardstock, then onto a folded white card to complete!
Here are some cards by Belinda Spencer using an underwater theme!
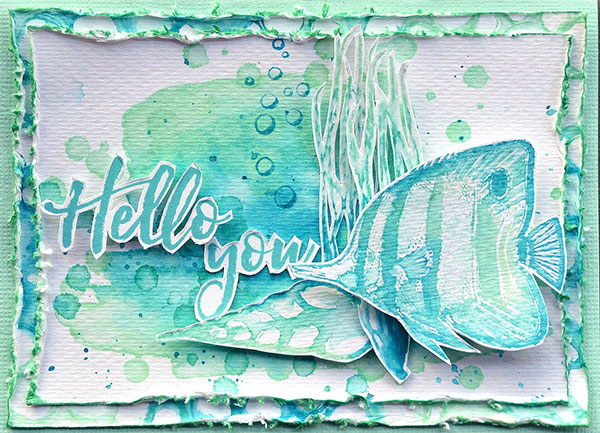
1. Apply Distress Inks in Cracked Pistachio, Mermaid Lagoon and Peacock Feathers to two of the Watery Washes stamps. Spritz with water and stamp on a piece of watercolour paper that has been cut to size. Use a soft, wet paintbrush to blend the colours on the paper. Dry with a heat gun.
2. Apply the Cracked Pistachio ink to the spotty stamp from the Watery Washes Rubber Stamp Set. Spritz with water and apply to the watercolour paper. Smooth the colour with the paintbrush again. Next repeat this process using the Peacock Feathers ink. Dry with the heat gun.
3. Smoosh the Cracked Pistachio and Mermaid Lagoon inks onto an acrylic block or craft sheet. Use the wet paintbrush to pick up some of the colour and flick it onto the watercolour paper.
4. Use the same inks on the angel fish, seaweed and seashell stamps. Spritz with a little water and stamp onto scrap watercolour paper. Use a fine, soft, wet paintbrush to smooth and blend the colours. Dry with a heat gun and fussy cut each image.
5. Apply the Mermaid Lagoon ink to the bubbles stamp from the Under The Sea Rubber Stamp Set. Stamp on the card front. Add all of the fussy cut images using 3D foam behind the fish, shell and one of the seaweed images.
6. Stamp the 'Hello' and the 'You' from the 'Thinking of You' sentiment from the Brushed Sentiments Rubber Stamp Set on scrap white cardstock using Ranger Archival Ink in Aquamarine. Fussy cut and add to the card front.
7. Use the three colours of ink on the Circles Background Stamp. Spritz with water and stamp on another piece of watercolour paper cut slightly larger than the card front. Blend the colours with the paintbrush. Dry with a heat gun. Distress the edges of both pieces and ink with Cracked Pistachio. Layer together and add to an aqua cardstock card base.
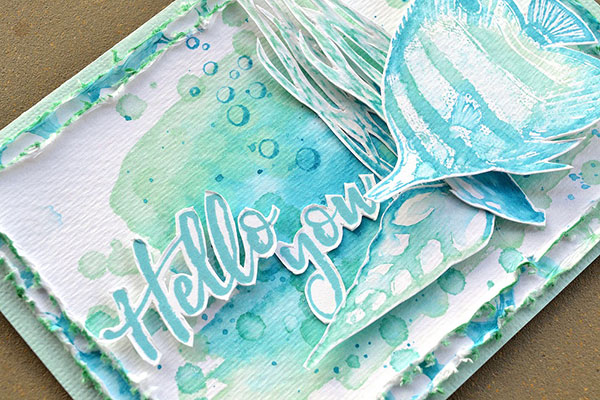
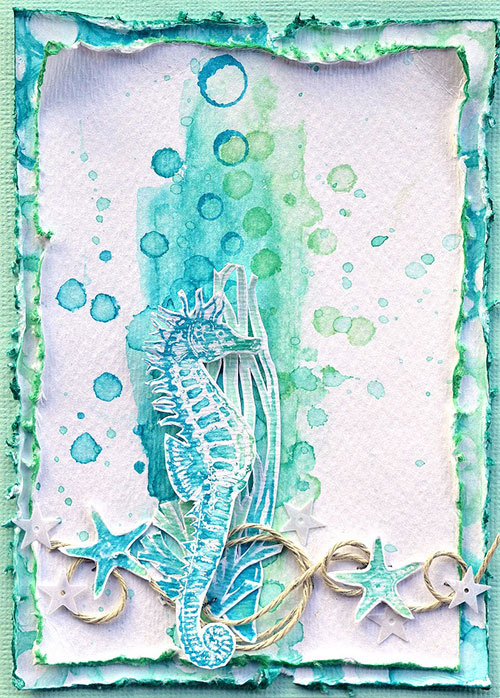
Here's another card created in a similar way:

Teresa Abajo shows how the Watery Washes look when used with the Brushed Sentiments stamps. These two stamp sets are designed to work together so you can layer the sentiments over the washes.

Instructions:
1. Stamp the image from the Watery Washes set using Archival Watering Can ink onto white cardstock.
2. Stamp the word Congratulations over the top using Archival Jet Black ink.
3. Add a few more spatters over the top using Distress Spray Stain Brushed Pewter.
4. Embellish with a few scattered adhesive diamentes.
5. Mount onto silver cardstock then onto a white card base.

Instructions:
1. Stamp the image from the Watery Washes set using Distress Ink (Ripe Persimmon and Dried Marigold).
2. Stamp the Happy Birthday sentiment using Archival Coffee ink.
3. Stamp the balloon image from the Party Time set using Distress Inks (Ripe Persimmon and Dried Marigold), and colour the string using a Distress Marker (Vintage Photo).
4. Mount onto brown cardstock then onto a white card base.
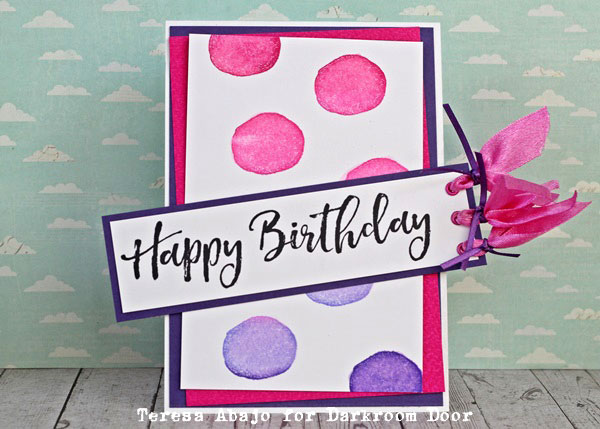
Instructions:
1. Ink the spot image from the Watery Washes set using a variety of Distress ink colours. You can use two colours on each spot for extra interest.
2. Mount this piece onto pink then purple cardstock, then adhere to a white card.
3. Stamp the sentiment from the Brushed Sentiments set onto white cardstock using Archival ink Jet Black. Trim to size, mount onto purple cardstock, then set three eyelets onto the right hand side.
4. Thread ribbons through the eyelets, then adhere this piece to the card at an angle.
Supplies used:
Darkroom Door Watery Washes Rubber Stamp Set
Darkroom Door Brushed Sentiments Rubber Stamp Set
Darkroom Door Seashells Rubber Stamp Set
Darkroom Door Under The Sea Rubber Stamp Set
Darkroom Door Party Time Rubber Stamp Set
Darkroom Door Circles Background Stamp
Ranger Archival Ink: Jet Black, Aquamarine, Watering Can, Coffee
Distress Ink: Cracked Pistachio, Mermaid Lagoon, Peacock Feathers, Broken China, Mustard Seed, Ripe Persimmon, Dried Marigold
Distress Spray Stain: Brushed Pewter
Distress Marker: Vintage Photo
Thanks for stopping by today!
Watery Washes Rubber Stamp Set Project Ideas