- Products
- Blog
- Wholesale
- Stockists
- About
- Contact
Hi there! Today we are sharing projects created with the Wander Quote Stamp!
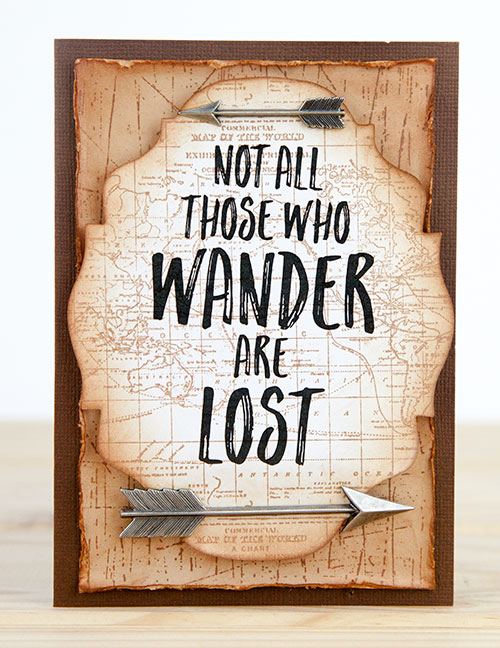
First we have a card by Rachel Greig:
Instructions:
1. Stamp Scratches Background Stamp onto beige cardstock using Archival Sepia Ink Pad. Distress the edges with a paper distresser. Ink around the edges of the cardstock using the Sepia ink pad. Adhere to a folded dark brown card.
2. Stamp the World Map Background Stamp onto white cardstock with Archival Sepia Ink Pad. Die cut using the Tim Holtz Baroque Sizzix Die. Sponge Sepia ink around the edges.
3. Stamp the Wander quote over the World Map using Archival Jet Black Ink Pad. Adhere stamped panel to card using foam adhesive.
4. Attach two metal arrows (Tim Holtz idea-ology) to the card using Glossy Accents adhesive.
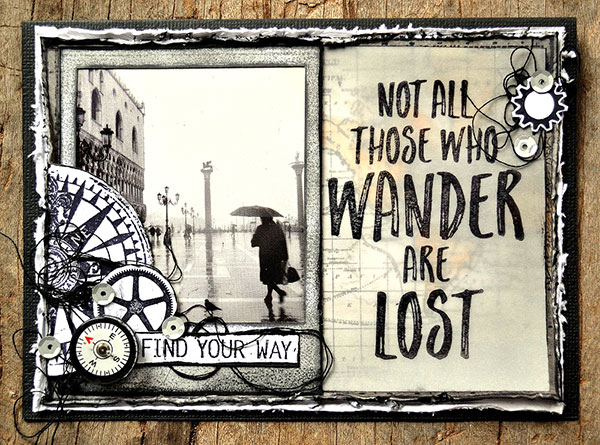
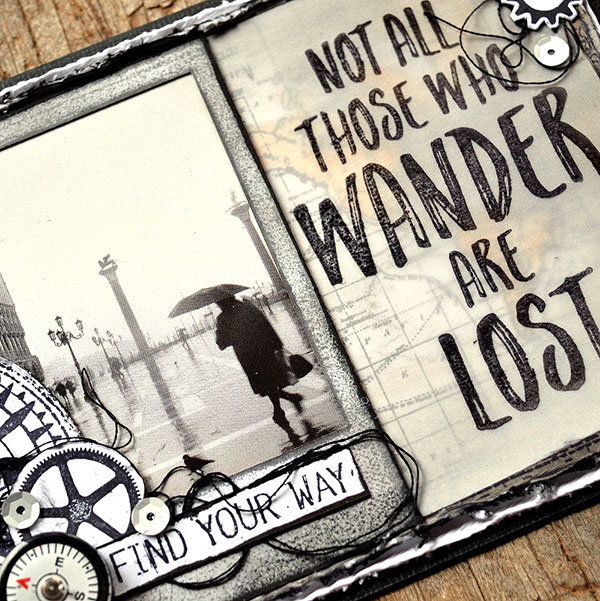
Belinda Spencer has created two cards using lots of layers and texture! Here is the first one:
Instructions:
1. Apply the World Map Background Stamp onto a piece of smooth white cardstock cut to size using Jet Black Ranger Archival Ink. Add colour to the stamped image using watercolour paints. Rub in some Hickory Smoke Tim Holtz Distress Ink around the edges. Distress the edges and ink with Black Soot Tim Holtz Distress Ink. Layer on a slightly larger piece of white cardstock and distress the edges of that too.
2. Cut a piece of vellum to fit over the top of the World Map background. Apply the Wander Quote Stamp using Jet Black Staz On ink. Staz On works better on vellum as it dries quicker and gives a crisper image. Stick this piece down on top of the World Map making sure your tape will be hidden under the next layers.
3. Stamp the Polaroid Frame Stamp on cardstock using Watering Can Ranger Archival Ink. Apply some Hickory Smoke Distress Ink using an ink blending tool. Stick down on top of one of the fabulous Darkroom Door Photochips and add to the card front.
4. Stamp a couple of cogs from the Steampunk Rubber Stamp Set on white cardstock using Jet Black Archival Ink. Also stamp the Compass Eclectic Stamp. Cut all pieces out and cluster on the card front along with some frayed black thread.
5. Stamp the Find Your Way quote from the Discover Rubber Stamp Set also and add that to the card front. Add a sprinkling of sequins and a cute compass charm.
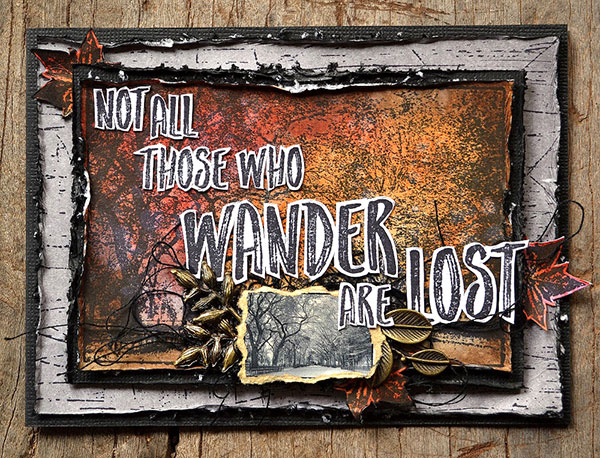
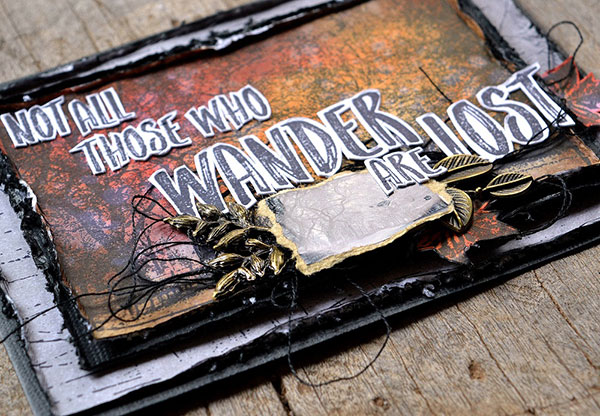
Here is Belinda's second card:
Instructions:
1. Apply the Scratches Background Stamp on to a piece of smooth white cardstock cut to size using Jet Black Ranger Archival Ink. Apply Hickory Smoke Tim Holtz Distress Ink using an ink blending tool. Flick some water droplet over the stamped image and allow to dry. Distress the edges and ink with Black Soot Tim Holtz Distress Ink. Stick down on a black cardstock card base.
2. Apply the Central Park Photo Stamp on smooth white cardstock. Colour by blending in various Distress Inks with an ink blending tool. I have chosen some lovely autumn/fall colours for this card using a combination of Antique Linen, Rusty Hinge, Fired Brick and Ground Espresso Distress Inks. Flick water droplets over the image. Allow to dry then distress and ink the edges with the Black Soot ink. Stick down on a piece of black cardstock cut to size to create a frame. Distress the edges and add to the card front using 3D foam.
3. Stamp some leaves from the Leaves Rubber Stamp Set onto scrap cardstock. Ink using the same colours as the Central Park photo image. Slip under the edges of the top layer on the card.
4. Tear the Central Park image from the New York Montage sheet. Ink the edges using Antique Linen ink. Add to the card front with one of the stamped leaves as well as some metal leaf charms and frayed black embroidery thread.
5. Stamp the Wander quote on scrap white cardstock. Fussy cut the words and add to the card front. Add a sprinkling of sequins and a cute compass charm.
Robyn Wood has created two stunning cards!
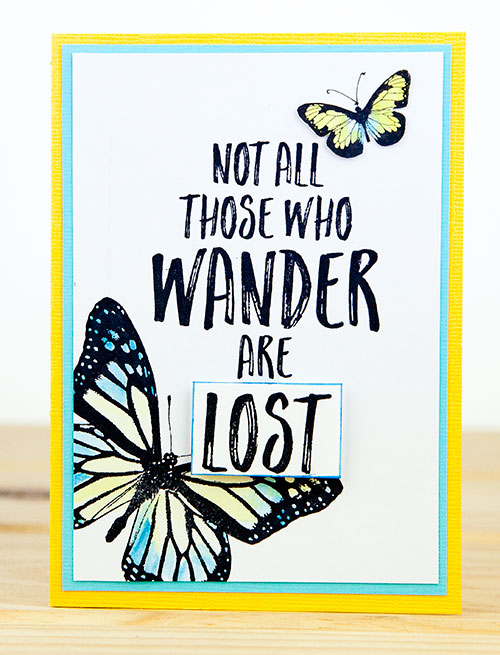
There is always something about butterflies that give me a sense of exploration or wandering. They float so effortlessly on the breeze, darting here & there on the hunt for flowers.
Instructions:
Stamp the Darkroom Door Wander Quote stamp onto the middle of a piece of white cardstock using black Archival ink. Stamp just the word ‘lost’ onto some white scrap cardstock and trim closely. Stamp the large butterfly from the Darkroom Door Wings stamp set onto the bottom left-hand side of the card stock so that parts of the wings are off the edge and the body is at an angle to the corner. Stamp a second small butterfly from the same set onto some white scrap cardstock. Colour both butterflies using Distress Markers and trim out the smaller one to add to the card. Edge the word ‘lost’ using the blue Distress Marker and mount over the same word on the quote using foam tape. Layer with blue and then add to a yellow cardfront.
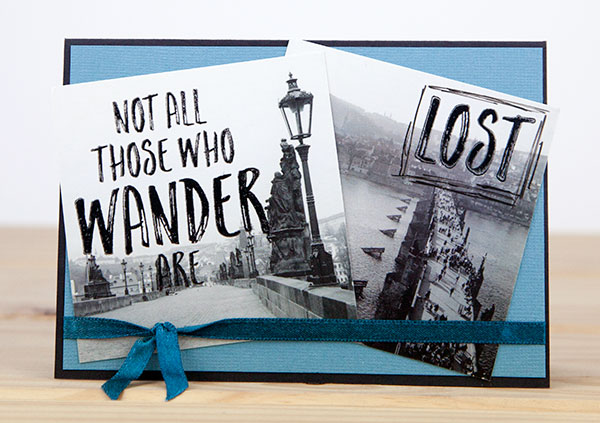
Here is Robyn's second card:
Instructions:
Select two Darkroom Door Photochip images for the card – one needs to have a bit of open space for the main part of the quote so that it will stand out well. The Prague set of Photochips depicting Charles Bridge are perfect for this technique, but there are a bunch of other suitable ones in the Darkroom Door collections. Consider where the wording might sit if you use different options or try using clear ink and white embossing powder for a totally different look.
Cover the word ‘lost’ on the Darkroom Door Wander Quote stamp with a post-it then ink the upper part of the stamp using Brilliance Graphite Black pigment ink. Remove the post-it and stamp onto the open part of the Photochip. Emboss with clear powder. Repeat this step on the second Photochip and stamp the word ‘lost’ in the top right hand corner. Layer the images onto blue cardstock and tie with ribbon. Attach to a black card front. Highlight the word ‘lost’ with a fine black pen to give it a bit of prominence.
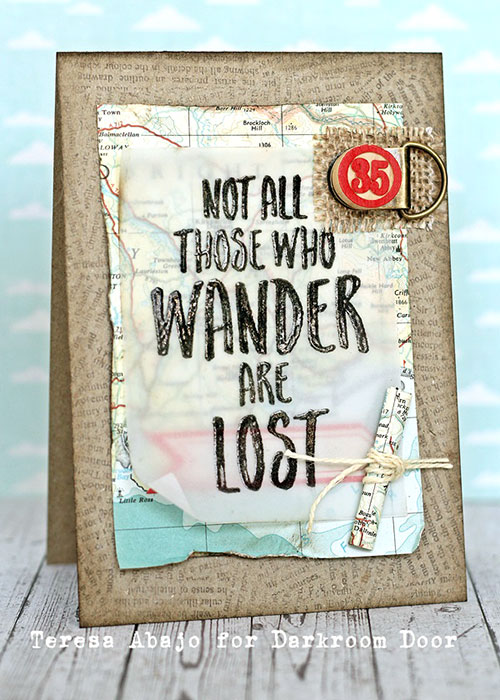
Teresa Abajo also has a card to share with us using the Wander Quote Stamp:
Instructions:
1. Stamp the Torn Text Background stamp onto a kraft card using Distress Ink Vintage Photo.
2. Distress the edges of an 8 x 12.5cm piece of map and adhere to card.
3. Stamp the quote onto vellum using Versafine Ink Onyx Black, then emboss with clear embossing powder. Adhere this to the card front using Tim Holtz's Tiny Attacher. (Place the staples under the embellishments so that they're not seen).
4. Roll up a 9 x 3 cm piece of map, tie with a piece of twine, then adhere to the bottom right hand corner of the card front.
5. Adhere a scrap of hessian to the top right hand corner of the card, then a Tim Holtz Bingo piece over a metal embellishment.
Wander Quote Stamp Project Ideas