- Products
- Blog
- Stockists
- About
- Contact
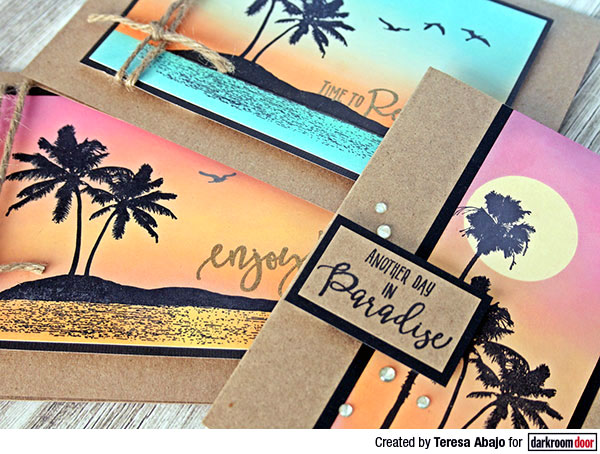
Hi folks! It's Teresa Abajo popping in to share some of the fun I've been having with the new Tropical Islands Rubber Stamp Set.

I was so excited to work with this set! The gorgeous silhouetted palm tree images meant I could crack out the super blendable Distress Oxide inks to create some awesome sunset backgrounds. This makes for wonderful fun on a hot summer's evening after a day at the pool.
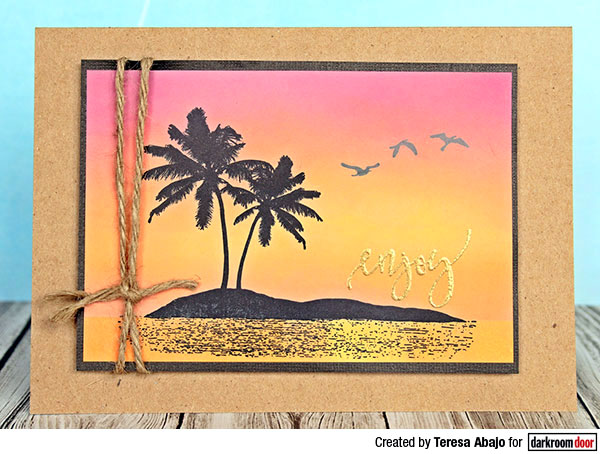
A quick google image search for sunsets revealed a fantastic range of colours that would work besides the regular red and orange that we know so well. This first sample has yellow and orange, with some hot pink and even purple added at the very top:

Step 1
Mask off the bottom quarter of a 13.8 x 9.5 cm piece of smooth white cardstock with a Post It Note. This will be the horizon line.
Step 2
Over a craft sheet, sponge some ink over the exposed area in this order: Spiced Marmalade, Fossilized Amber, Spiced Marmalade again, Picked Raspberry then Seedless Preserve just on the top edges and corners. Add very light touches of Picked Raspberry at the very bottom. If necessary, go back over these areas to create a smooth blend.
Step 3
Turn the piece around, and place the Post It Note over the coloured area, exposing the area that will be the water. Sponge Spiced Marmalade and Fossilized Amber and blend well.
Step 4
Stamp the tropical island image precisely over the horizon created with the Post It Note using Archival Jet Black ink. I used a Misti stamp tool to ensure correct placement and to enable repeated stamping to get a nice solid black image. Stamp the birds image in the sky.
Step 5
Allow the piece to dry well, then stamp the word 'enjoy' using Versamark ink and emboss with gold embossing powder. Mount onto black cardstock, tie some twine around the left hand side and mount onto a folded 5 x7 inch kraft card.
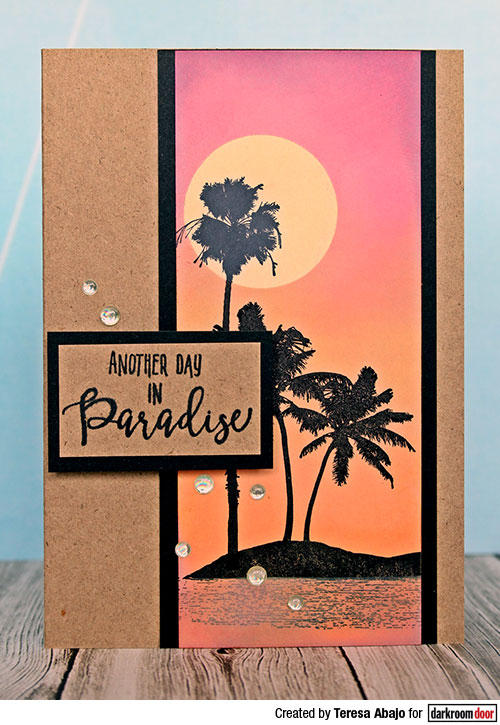
I used pretty much the same colours here, but went for a vertical arrangement this time:

Step 1
Mask off the bottom part of a 6 x 14.8 cm piece of white cardstock. Sponge some Antique Linen ink toward the top of this piece of cardstock, then punch a circle shape from a Post It Note and place it over the Antique Linen area. This will be the sun on our sunset.
Step 2
Sponge some ink over the masked piece in this order: Spiced Marmalade, Fossilized Amber, Spiced Marmalade again, Picked Raspberry, and just at the very top some Seedless Preserve.
Step 3
Remove the masks, then replace the Post It Note to cover the inked area. Sponge Spiced Marmalade over the water area.
Step 4
Stamp the island scene using Archival Jet Black ink, and add one extra tall palm tree to the scene, ensuring the top of it reaches the sun.
Step 5
Mat this piece onto black cardstock, then adhere it to a kraft card. Stamp the sentiment onto kraft cardstock, mat it with black cardstock and adhere to the card. Embellish with adhesive bling.
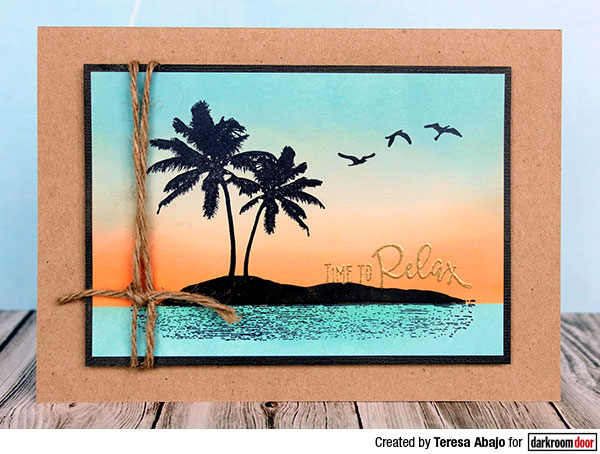
I used very different colours on this last card:

Step 1
Mask off the bottom quarter of a 13.8 x 9.5 cm piece of smooth white cardstock with a Post It Note.
Step 2
Sponge Spiced Marmalade ink, then Antique Linen, then Broken China inks to create the sunset background.
Step 3
Place the Post It Note over the sponged area, then sponge Broken China for the water, adding just a touch of Spiced Marmalade around where the island will be stamped.
Step 4
Stamp the tropical island and birds images using Archival Jet Black ink.
Step 5
When dry, stamp the words using Versamark ink, then emboss with gold embossing powder.
Step 6
Mount onto black cardstock, tie twine around the left hand side, and adhere to a 5 x 7 inch kraft card.
Supplies Used:
Darkroom Door Tropical Island Rubber Stamp Set
Distress Oxide inks
Archival Jet Black ink
Gold embossing powder
Misti stamp positioning tool
Non-stick craft sheet
Thanks for looking! I hope you've been inspired to experiment with your own sunset backgrounds and Darkroom Door's Tropical Island stamp set.
Teresa
Tropical Island Cards