- Products
- Blog
- Stockists
- About
- Contact
Hi! Suzz Czosek here today, sharing a series of sympathy cards using the new Sympathy Sentiments Stamp. This stamp has a wonderful variety of sentiments to comfort and show you are thinking of your friends and family during difficult times.
I like to keep my sympathy cards fairly simple with the sentiment and one main image being the main focus. For my first card I pulled out my favorite Eclectic Butterfly stamp to use over the lovely chicken wire background stamp.
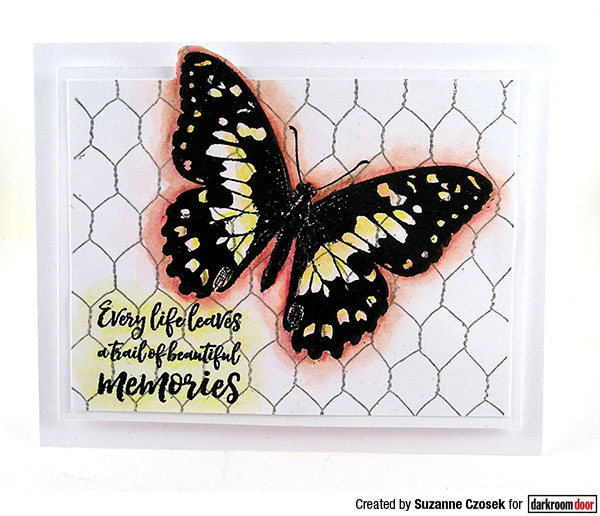
1. Stamp the Chicken Wire Background Stamp onto white cardstock with gray ink.
2. Stamp the Butterfly Eclectic Stamp with black ink over chicken wire background.
3. Color butterfly with your favorite medium. I like to use watercolor pencils and a waterbrush.
4. Stamp a sentiment from the Sympathy Sentiments Stamp in black ink below butterfly.
5. Cut card front leaving part of the butterfly wing to be hand cut.
6. Assemble card.
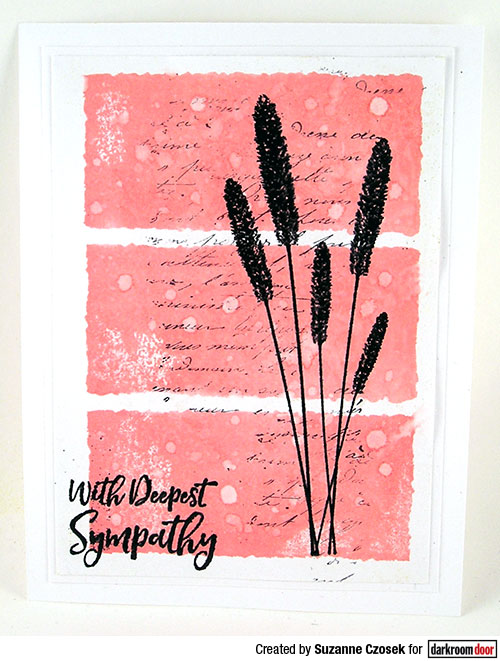
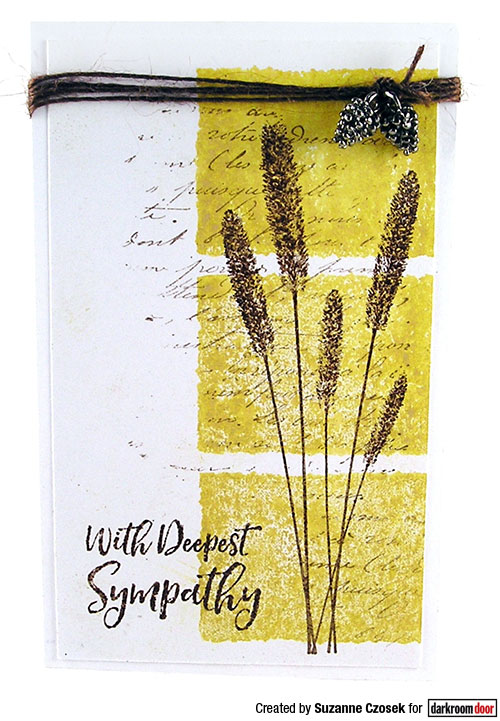
I did a series of cards using the Wildflowers Vol 2 cattails image over the Shadow 3 Up Frame Stamp.
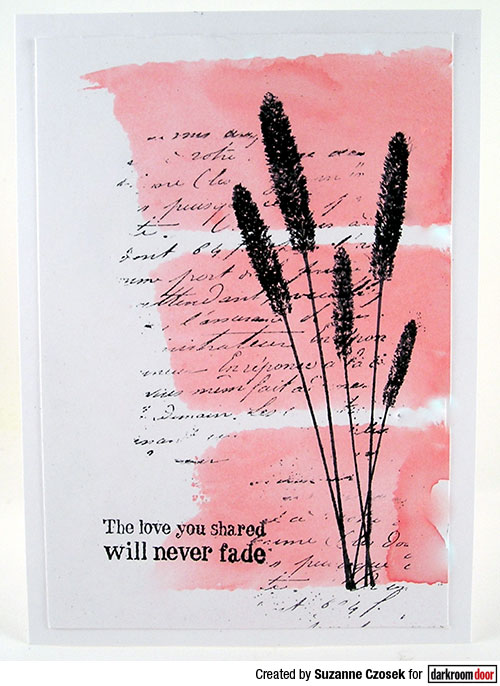
1. Ink up the Shadow 3up Frame Stamp with distress oxide ink. Spritz the inked up stamp with water.
2. Stamp frame onto white cardstock. Let dry.
3. Stamp French Script Texture Stamps using black or brown ink overlaying stamped rectangles.
4. Stamp cattails from Wildflowers Vol 2 Stamp Set using black or brown ink, overlapping stamped rectangles.
5. Cut image to size for cardfront.
6. Stamp sentiment using coordinating ink to the left of the shadow boxes.
7. Place cardfront on base of card.
Here are two more cards created in a similar way. I like to find a design I like and make multiples varying the color combinations, embossing, distressed edges but keeping the same design. It helps to build up a stock of cards to have on hand.
For the next card I decided to use the Country Windmill Photo Stamp as the main image and pair it with the lovely memories sentiment from the Sympathy Sentiments Stamp.
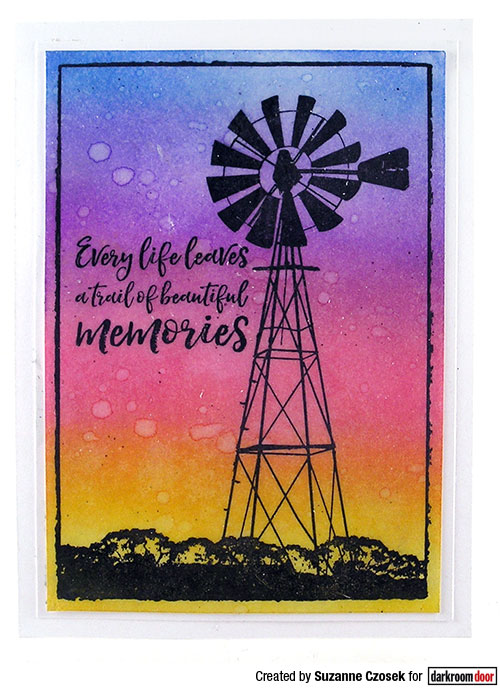
1. Stamp the Country Windmill Photo Stamp using black ink on white cardstock.
2. Heat emboss with black embossing powder.
3. Stamp sentiment using black ink to the left of the image.
4. Heat emboss with black embossing powder.
5. Sponge yellow distress oxide on the bottom fourth of the image.
6. Sponge pink distress oxide on the next section and repeat with purple and blue distress oxides. (Hint: To help blend them together go back with the lighter colour and blend up. I took the yellow and blended over the edge of the pink to transition and continued using the lighter color to blend into the darker colour all the way up)
7. Sprinkle spots of water onto the background. Heat set with heat gun.
8. Ink entire surface with embossing ink. Heat emboss with clear embossing powder.
9. Cut out image and mount onto white card base.
Next up is the beautiful Woodlands Photo Stamp with a vellum overlay for the sentiment:
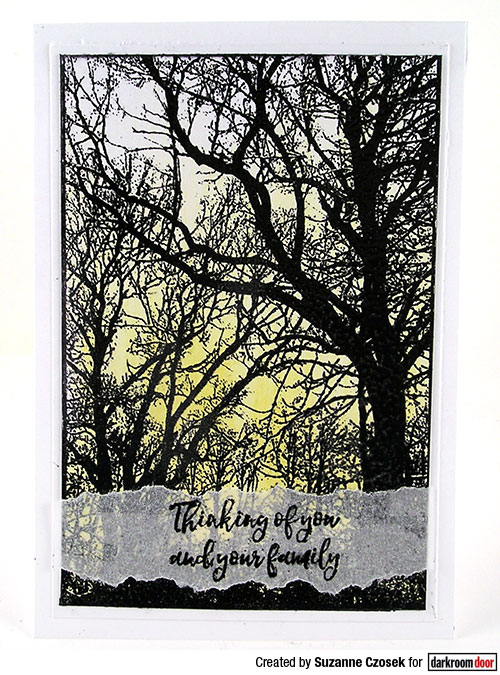
1. Stamp the Woodlands Photo Stamp using black ink and emboss with black embossing powder.
2. Sponge yellow distress oxide from the bottom up and lightening the color to leave top portion white.
3. Cut out stamped image.
4. Cut vellum piece to fit width of main image.
5. Stamp sentiment using StazOn ink.
6. Lay ruler along top of sentiment and tear vellum away. Repeat along the bottom of the sentiment.
7. Assemble card.
Supplies used:
Darkroom Door Sentiments Stamp: Sympathy
Darkroom Door Rubber Stamp Set: Wildflowers Vol 2
Darkroom Door Frame Stamp: Shadow 3 Up
Darkroom Door Photo Stamp: Country Windmill, Woodlands
Darkroom Door Background Stamp: Chicken Wire
Darkroom Door Eclectic Stamp: Butterfly
Ranger Distress Oxide Ink Pad: Fossilized Amber, Worn Lipstick, Picked Raspberry, Wilted Violet, Blueprint Sketch
Ranger Distress Ink: Mustard Seed
Ranger Archival Ink: Jet Black, Potting Soil, Watering Can
Black Embossing Powder
Clear Embossing Powder
Versamark Watermark Ink
Watercolor Pencils
Waterbrush
Tim Holtz Idea-ology: Pinecones
Twine
Vellum
StazOn Ink: Black
I loved having all these different sentiments in one stamp making it easy to finish a card with a touching phrase.
Suzz
Sympathy Sentiments Cards