- Products
- Blog
- Stockists
- About
- Contact
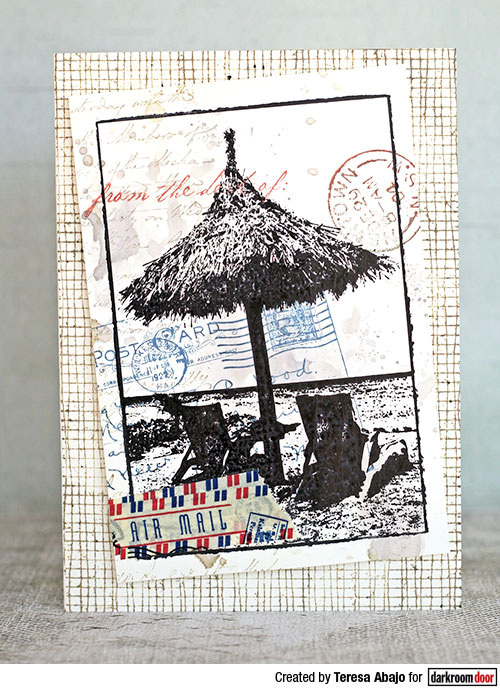
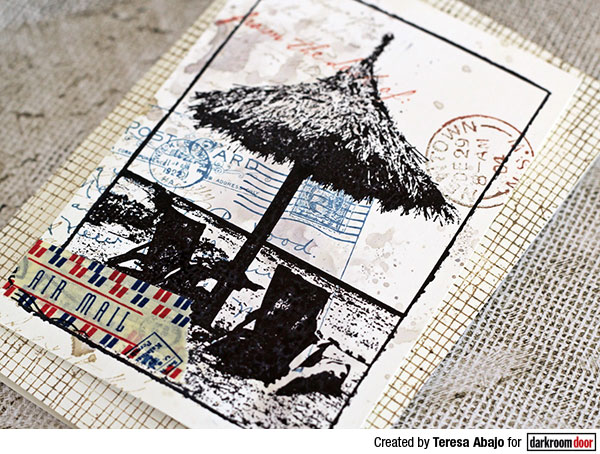
Hello stampers and crafters! Teresa Abajo here with a couple of samples using the new Photo Stamp called Summer Oasis. It's a lovely beachside scene of an umbrella and two chairs, and the first thing I did with it was to create a bit of a messy postcard look with some Distress Ink and some postal stamp images:

Instructions:
1. Apply a thin coat of gesso unevenly on a piece of cream cardstock. Leave some areas uncovered.
2. Apply some Frayed Burlap Distress ink to a scrap piece of acetate, spritz with water and smear this onto the gessoed background.
3. Dry well, then stamp various images from the Correspondence Stamp Set using Frayed Burlap ink and Archival ink in Cobalt and Vermillion.
4. Stamp the Summer Oasis image over the top of the background using Archival Jet Black ink, then trim this piece down leaving a narrow border.
5. Fold an A5 piece of cream cardstock in half and stamp the Mesh Background stamp on it using Frayed Burlap ink.
6. Adhere some coordinating washi tape in the bottom left hand corner of the card front and adhere it to the card base using foam mounting tape.

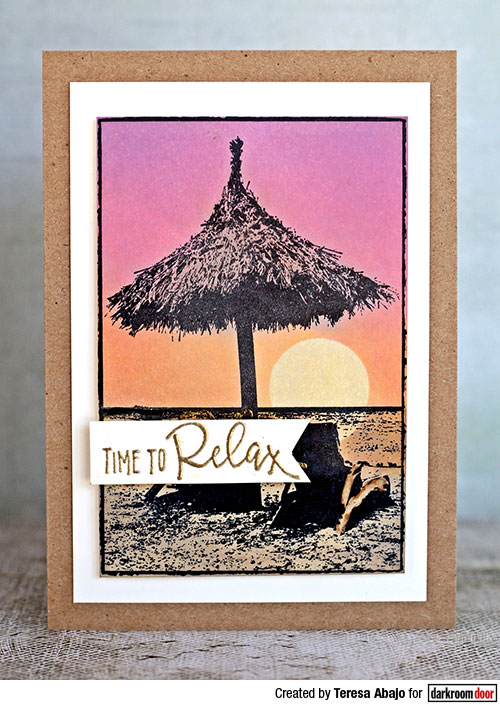
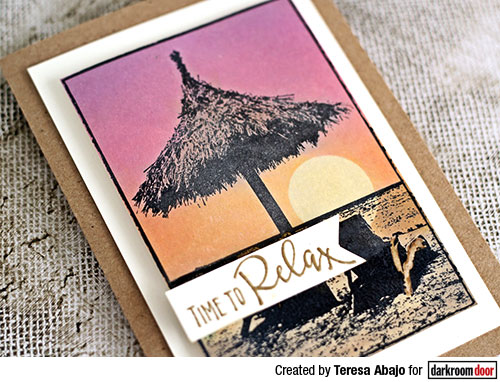
When I first saw this image I was excited to have another opportunity to create another sunset background. These backgrounds are very easy and are quite impressive.

Instructions:
1. Load the Summer Oasis stamp into a Misti (or similar tool) and stamp it onto cream cardstock using Archival Jet Black ink. Leave the stamp in place but remove the stamped image (you'll be wanting to stamp the image in exactly the same place so take care to replace it in exactly the same spot).
2. Punch a circle from a Post It Note and place it were you'd like your sun to appear (half above the horizon and half below it). Mask off the area under the horizon line with a Post It Note, then apply your choice of Distress Oxide inks to create a sunset. Here I started with Antique Linen, then I applied Spiced Marmalade, then Picked Raspberry and finally Wilted Violet at the top. Blend each colour well.
3. Apply some Frayed Burlap Distress Oxide to the thatched umbrella. (Note: you'll notice that the Distress Oxide inks are opaque in nature and make the stamped Summer Oasis image a little cloudy. We will pop the image back in the Misti and stamp over the top with black ink to make the stamped image clear again).
4. Remove the Post It Note from the horizon line and use it to cover the sky while you work under the horizon. Use the Antique Linen to ink the area, the apply some Spiced Marmalade to the water. Add some Frayed Burlap to the sand area of the image. Remove the Post It Notes to reveal the coloured image.
5. Place the coloured image back in place in the Misti, and stamp again in black ink. This should clarify the Summer Oasis image. Trim this piece leaving a border around the coloured image and adhere to a kraft card.
6. Stamp the words from the Tropical Island stamp set using Versamark ink and emboss using gold embossing powder. Trim down and adhere to card front using foam tape.

Supplies used:
Darkroom Door Summer Oasis Photo Stamp
Darkroom Door Stamp Sets: Correspondence, Tropical Island
Darkroom Door Mesh Background Stamp
Gesso
Distress Ink Frayed Burlap
Distress Oxide ink: Antique Linen, Spiced Marmalade, Picked Raspberry, Wilted Violet
Archival ink: Cobalt, Vermillion, Jet Black
Washi tape
Versamark
Gold embossing powder
Thanks for dropping in today. I hope you will enjoy creating your own Summer Oasis!
Summer Oasis Photo Stamp Cards