- Products
- Blog
- Stockists
- About
- Contact
Hello lovely people! Teresa Abajo here with a couple of ideas on how to use the awesome new Stars Border Stamp.
The Darkroom Door Border Stamps are just shy of a whopping 12 inches long! This allows for some flexibility with project choice - from cards, to layouts to even girft wrapping as I've done here:
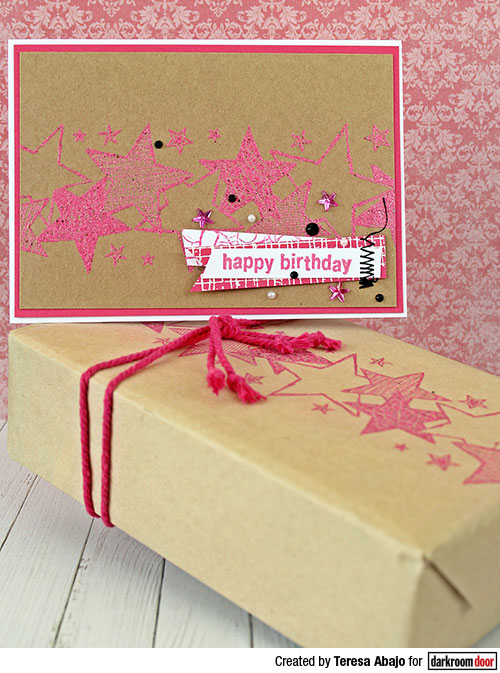
Instructions:
1. Choose some plain gift wrapping paper and wrap it wround your gift to work out best position for the stamped image.
2. Stamp the image using Distress Embossing Ink, then emboss with Mixed Media powder.
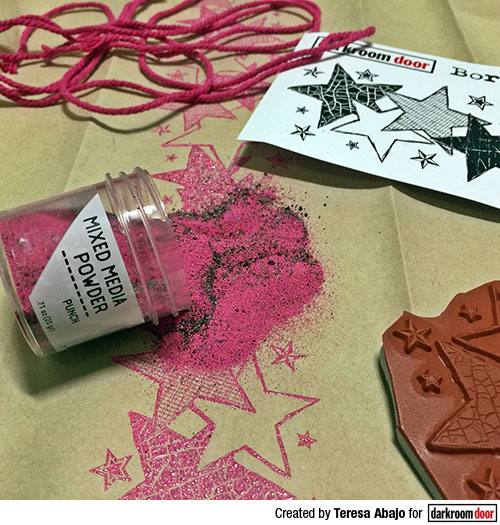
3. Wrap the gift and tie with coordinating cord.
Supplies:
Darkroom Door Stars Border Stamp
Ranger Mixed Media Powder: Punch
Distress Embossing Ink
Kaft wrapping paper
Pink cord
Here's a matching card:
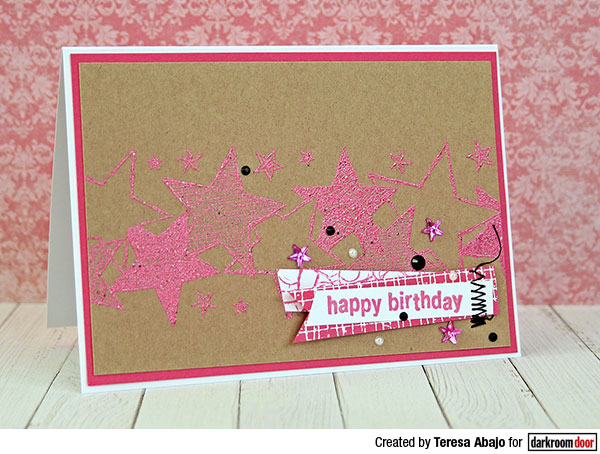
Instructions:
1. Stamp the Star Border onto a 13.8 x 9.5 cm piece of kraft cardstock.
2. Emboss with Mixed Media Powder.
3. Stamp the Crackle Texture stamp onto white cardstock with pink ink, and the Mesh Texture stamp onto pink cardstock with Embossing Ink. Emboss with white embossing powder, then trim into strips.
4. Stamp the sentiment onto white cardstock using pink ink, trim into a strip then adhere them to the bottom right of the card front. Add some stitching with black thread.
5. Mount the card front onto pink cardstock then onto a folded white card.
6. Embellish with pearls, diamentes and adhesive star gems.
Supplies:
Darkroom Door Stars Border Stamp
Darkroom Door Crackle Texture Stamp
Darkroom Door Mesh Texture Stamps
Ranger Mixed Media Powder: Punch
Cardstock: kraft, white, pink
Distress Ink: Picked Raspberry, Embossing Ink
A6 folded white card
Pearls, diamentes and adhesive star gems
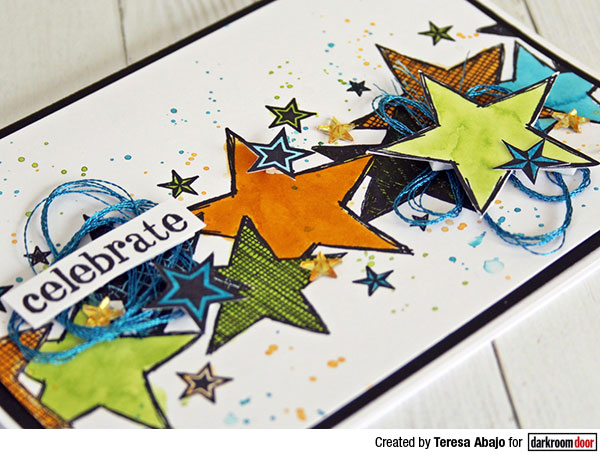
The possibility of layering more stars onto this border was too tempting! Here's another card in a boyish colour scheme:
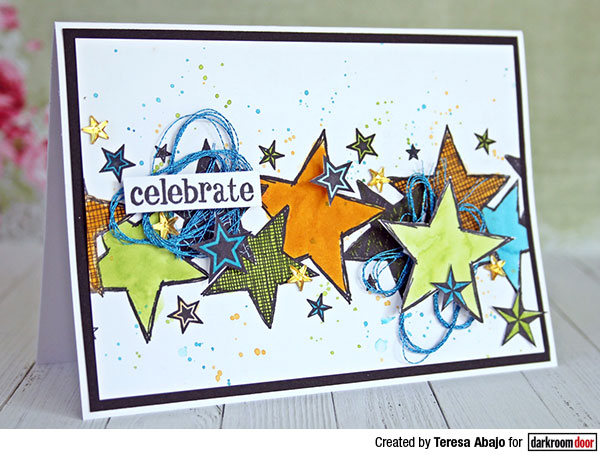
Instructions:
1. Stamp the Stars Border stamp across a 13.8 x 9.5 cm piece of white card using black ink. Colour parts of it using your choice of media (I used Ecoline Brush Pens), and add ink spatter in coordinating colours.
2. Stamp a few extra stars from the Stars Stamp Set, colour these in too, then fussy cut.
3. Adhere the extra stars over the border image using foam mounting tape. Include pieces of blue thread under some of the elements.
4. Stamp the Happy Birthday Sentiment Strip stamp onto white cardstock using black ink. Cut one of the words out and adhere to card front using foam tape.
5. Mount the card front onto black cardstock, then adhere to a folded white card.
6. Embellish with star gems.
Supplies:
Darkroom Door Stars Border Stamp
Darkroom Door Stars Stamp Set
Darkroom Door Happy Birthday Sentiment Strip stamp
Ecoline markers
Archival Jet Black ink
Adhesive star gems
Cardstock - white, black
A6 folded white card
Thanks for stopping by lovely people! I hope you're inspired to add the Stars Border stamp to your next craft session.
Teresa
Stars Border Stamp Gift Set Ideas