- Products
- Blog
- Stockists
- About
- Contact
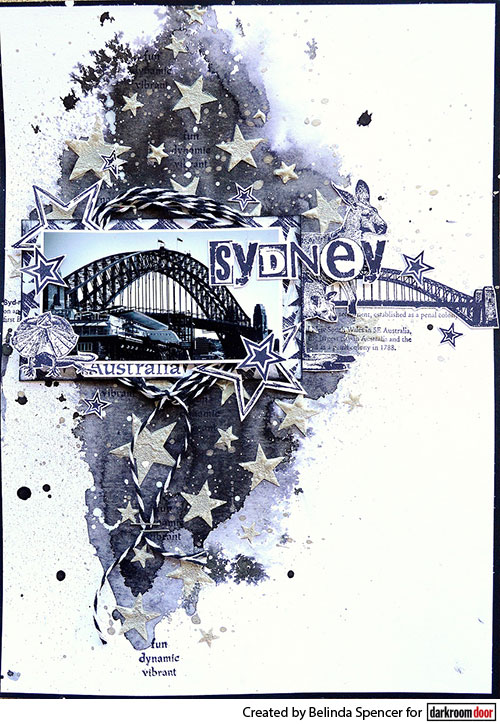
Hello Darkroom Door fans! Belinda Spencer here with you today to share a layout featuring the fabulous new Starry Night Large Stencil. This is such a fun stencil perfect for so many different projects and co-ordinates so well with the Stars Rubber Stamp Set. Today I am demonstrating how to create a grungy background using this versatile stencil.
Instructions:
1. Spritz your background cardstock with water. You need the cardstock to be quite wet. (Note: With wet cardstock comes warping. There's not really any way to avoid the warping but it should straighten up when stored in your album.) Shake up the Black Marble Dylusions Ink Spray, remove the top and apply the colour with a large soft wet paintbrush. Experiment with dropping the colour on the layout with the paintbrush and watching how it spreads on the wet surface. Use the paintbrush to move the colour around. You can also lift up the layout to move the colour around and let it run down the page. It's all just playing! Set aside to dry. (I used a heat gun to dry mine which added to the warp effect. It's best to let it dry naturally)
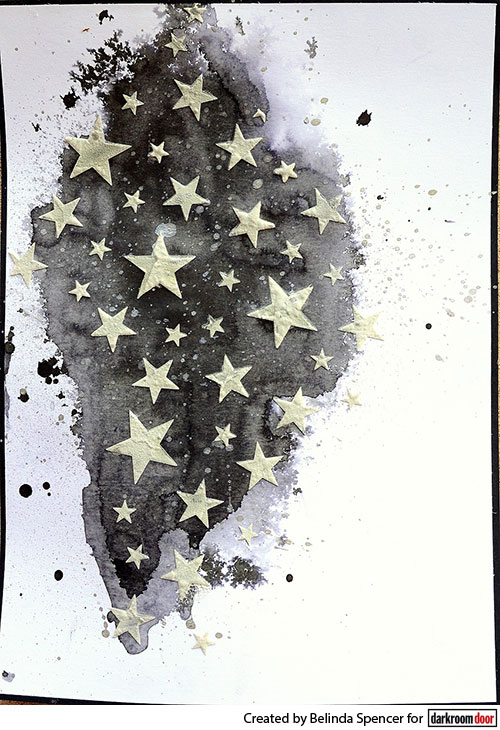
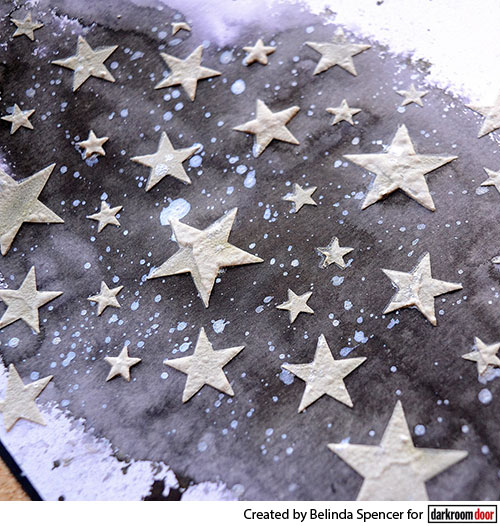
2. Place the stencil over the background. Apply texture paste over the stencil using a palette knife. Concentrate the texture paste over the inked area. You don't need to cover the whole stencil. Allow to dry for a sharper image or dry with a heat gun for extra texture caused by bubbling when you heat the paste. Use silver paint or a silver paint pen to colour the stars silver. Flick some of the silver paint as well as the Black Marble Spray over the background. Leave to dry. Add some subtle stamping to the background.
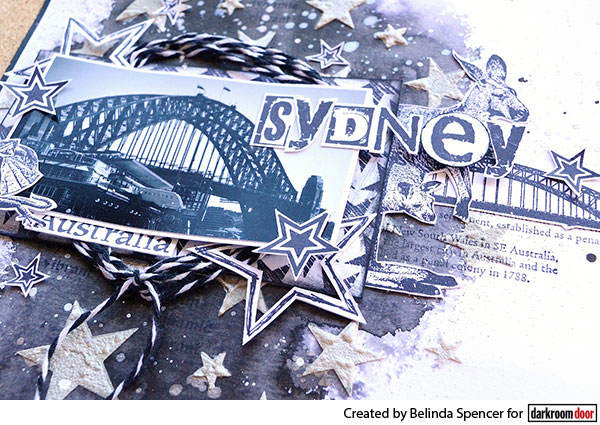
3. Stamp a small piece of white cardstock with the Brushed Stars Background Stamp using Jet Black Archival Ink to create a frame for under your photo. Stamp some images from various Darkroom Door stamps that are relevant for your photo. Stamp a bunch of stars from the Stars Rubber Stamp Set to co-ordinate with the stencilled background. Fussy cut all images.
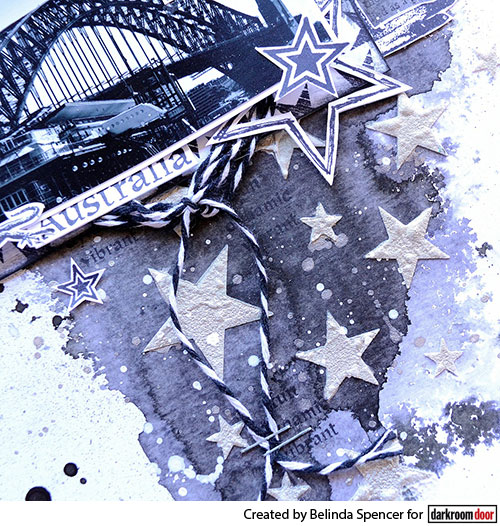
4. Stamp your title using the Alphabet Medley Rubber Stamp Set. Fussy cut each letter.
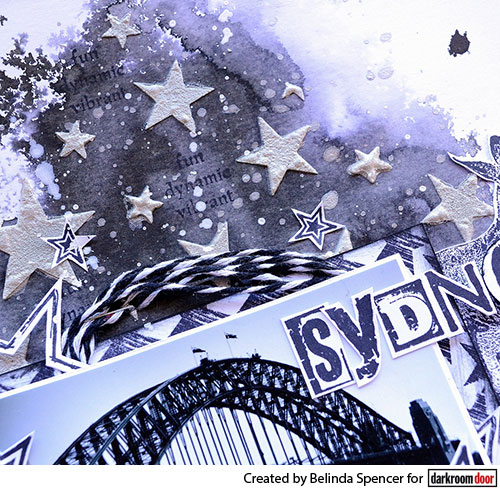
5. Add all images as well as a baker's twine circle and your
photo.
Supplies used:
Darkroom Door Large Stencil – Starry Night
Darkroom Door Brushed Stars Background Stamp
Darkroom Door Alphabet Medley Rubber Stamp Set
Darkroom Door Sydney Vol. 1 Rubber Stamp Set
Darkroom Door Australian Animals Vol. 1 Rubber Stamp Set
Darkroom Door Stars Rubber Stamp Set
Archival Ink Jet Black
Dylusions Ink Spray Black Marble
Distress Ink Black Soot
Amsterdam Acrylic Ink Silver
Golden Light Molding Paste
Uni Posca Pen White
I hope you love this stencil as much as I do. It really is perfect for so many projects from layouts to art journal pages, cards, tags and canvases. What will you create with your stencil?
Thanks for stopping by the blog today.
Belinda
Starry Night Large Stencil Layout