- Products
- Blog
- Stockists
- About
- Contact
Hello, it is Anna-Karin Evaldsson here with you today sharing an art journal page made with the new Star Border Stamp. I love these new big border stamps and they are full of potential for fun techniques. The stamps are 11.8 inches long, and are therefore perfect for scrapbooking layouts, or, as in my case, for the large Ranger Dylusions journal. At the same time they will work just as well for cardmaking and other smaller projects too.
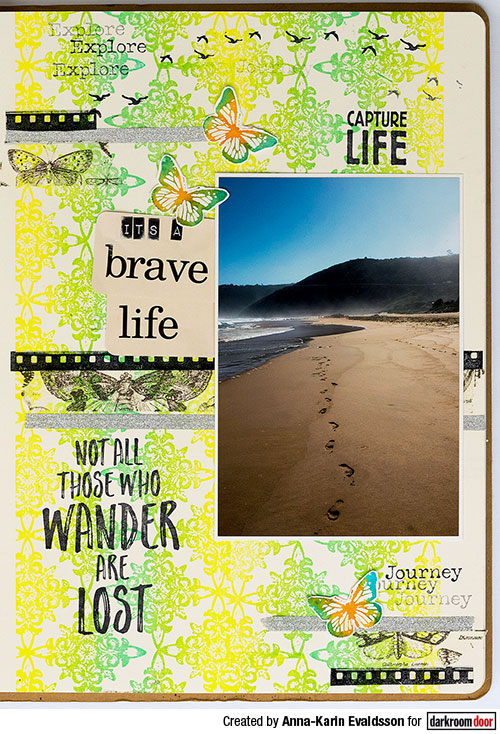
I had such fun using the Star Border stamp to create my entire background, and because the stamp is so big, I only had to stamp it four times to cover an entire page in my large Dylusions art journal, only leaving a thin border on each side. The Star Border stamp is so pretty and I really like the pattern and intricate details.
Now and then I like to include a photo in my art journal, and I thought this photo taken on a beach in South Africa fit really well with the Wander Quote stamp. The design could just as well have been a scrapbooking page.
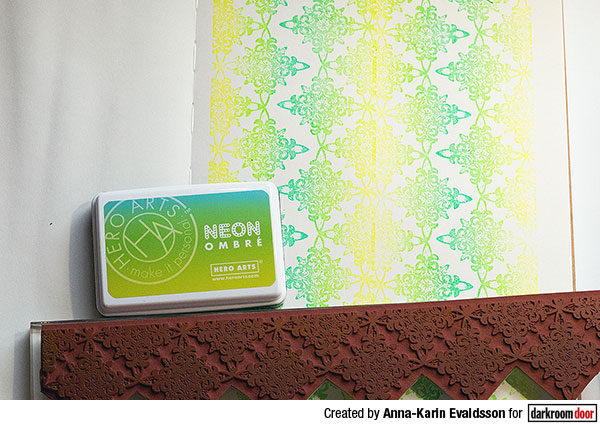
Place the Star Border stamp on a 12 inch acrylic block. I used a Hero Arts Neon Ombre ink pad to ink up the stamp, with the darker side of the ink pad being applied on the tips of the star. Either way is fine, just make sure that you use the same direction of the ink pad every time you reink the stamp. You can also make your own ombre ink pad by using the Distress Ink Custom Blend DIY pad and Distress Ink reinkers.
Start on the one side of the page, and for the second impression, turn the stamp around and position the stars in between the stars you have already stamped. It is quite easy to line it up. Depending on how large your project is, you might have to stamp half a star at the top or bottom of the page too, to make sure the stamping covers the full surface.
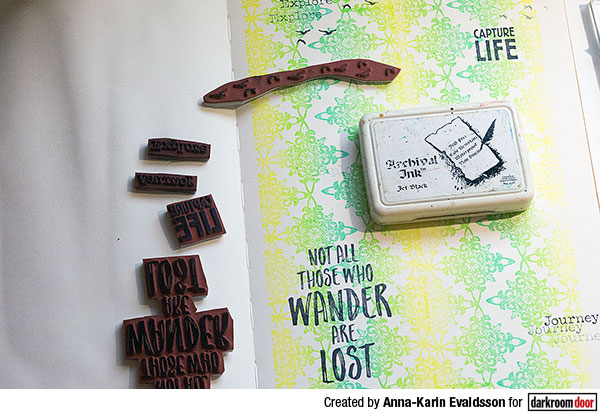
Stamp the background with sentiment and image stamps. I used the birds from the African Trees set, the Wander Quote Stamp, and sentiments from Venetian Vol. 1 and Capture Life.
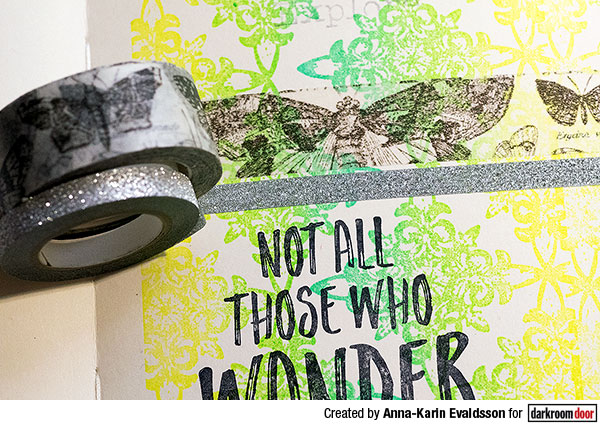
Add some Deco Tape and Tissue Tape to the background for an additional design element.
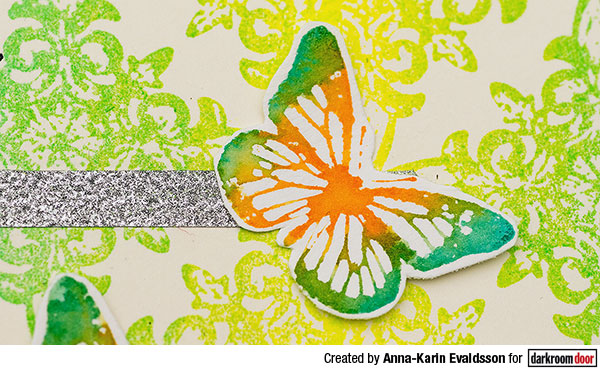
Ink up a butterfly from Wildflowers Vol. 1 Rubber Stamp Set with Spiced Marmalade and Mermaid Lagoon Distress Ink. Mist with water and stamp on watercolour cardstock.
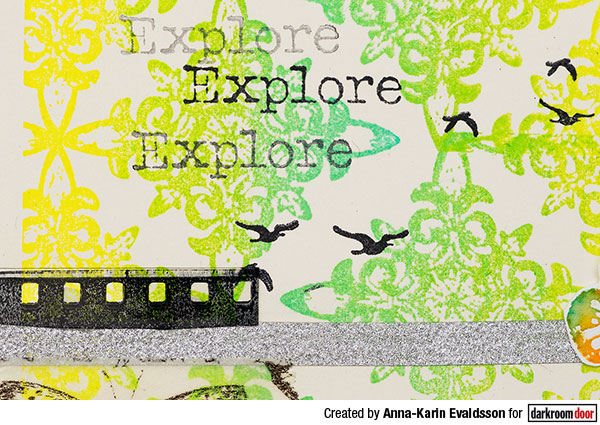
I really liked how my background turned out and with these large stamps, you can very quickly cover an entire background. It would look great in a neutral colour too, or done with embossing powder. Don’t worry if you don’t line the stamp up perfectly, it won’t really show in the finished project.
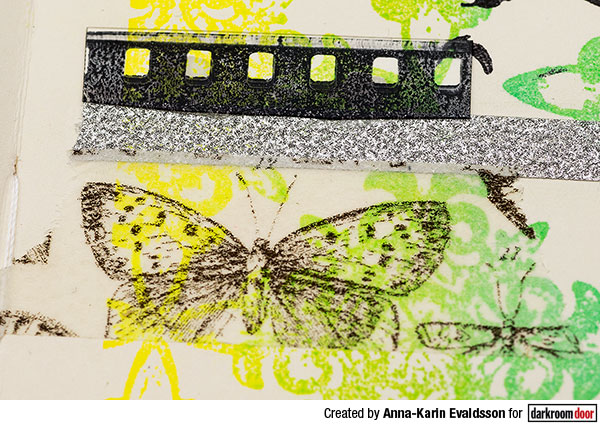
I also used a piece from the Filmstrip Border stamp, stamped on acetate with Stazon Jet Black ink.
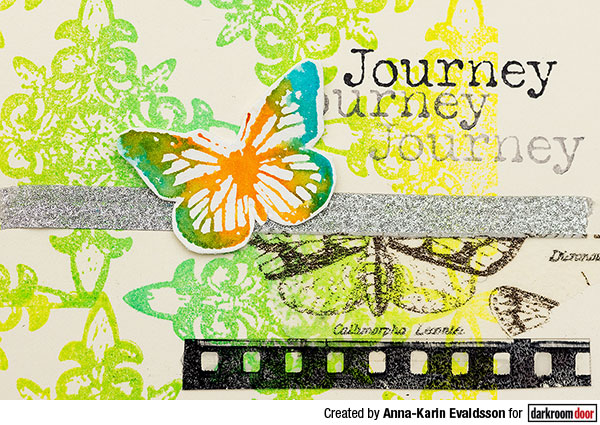
I like to sometimes stamp sentiment stamps more than once without reinking in between.
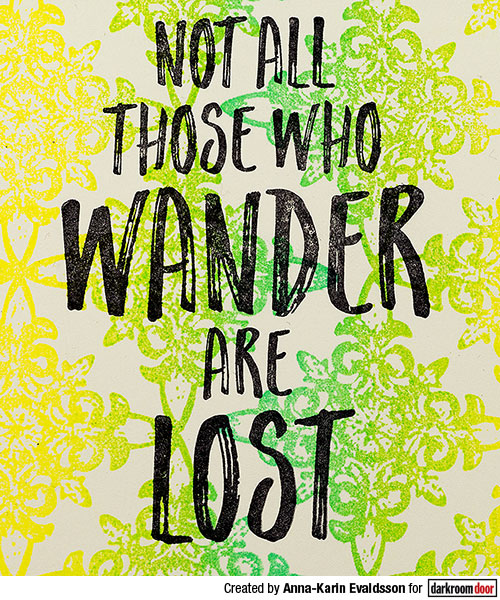
This is one of my all-time favourite quotes, and I am so happy to have it as a stamp now.
The Star Border would also look great covering the entire background of a scrapbooking page or an oversized card. It is such a versatile stamp and I will be using it a lot.
Supplies Used:
Darkroom Door Star Border Stamp
Darkroom Door Filmstrip Border Stamp
Darkroom Door Wander Quote Stamp
Darkroom Door African Trees Rubber Stamp Set
Darkroom Door Venetian Vol 1 Rubber Stamp Set
Darkroom Door Capture Life Rubber Stamp Set
Darkroom Door Wildflowers Vol 1 Rubber Stamp Set
Ranger Dylusions Large Journal
Watercolour Paper
Hero Arts: Neon Chartreuse to Blue Ink Pad
Ranger Distress Ink: Spiced Marmalade, Mermaid Lagoon
Ranger Archival Ink: Jet Black
Tsukineko: Stazon Jet Black
Tim Holtz idea-ology: Sketchbook Tissue Tape, Silver Deco Tape, Elementary Flash Cards, Label Letter
I hope you enjoyed this tutorial! Thank you so much for looking.
Happy stamping!
Anna-Karin
Star Border Art Journal Page