- Products
- Blog
- Stockists
- About
- Contact
Hi, it’s Belinda here today to share three cards I have created using the fabulous new Season’s Greetings Rubber Stamp Set. I just love that beautiful brush script!
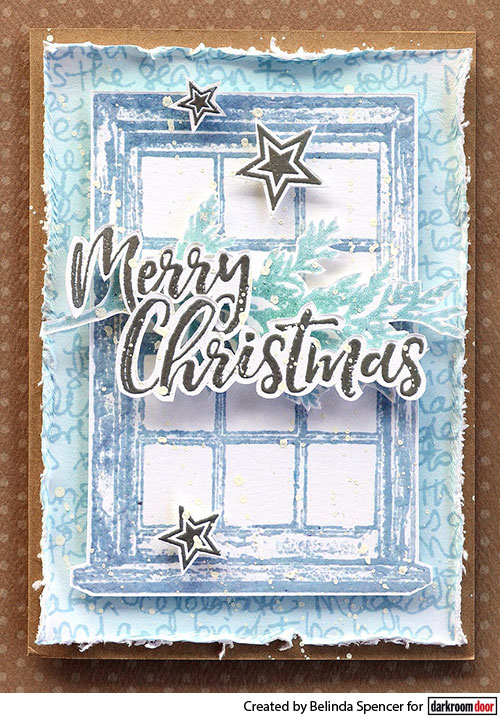
Instructions:
1. Fold in half a Buffalo Kraft Natural Brown A5 card to form the card base.
2. Cut a piece of smooth white cardstock 10cm x 14cm. Apply the Christmas Script Background Stamp using Ranger Sky Blue Archival Ink. Stamp twice to make sure the whole surface is covered. Apply Tim Holtz Broken China Distress Ink using an ink blending tool. Distress the edges. Stick down on the kraft card base.
3. Using a stamp positioning tool (such as a MISTI), stamp the Window Frame Stamp onto smooth white cardstock with the Sky Blue ink. Re-ink the stamp with Tim Holtz Distress Embossing Ink and stamp again. Remove the stamped cardstock from the MISTI and sprinkle with Ranger Clear Ultra Thick Embossing Enamel and heat set. Cut out the frame and add to the card front with 3D foam.
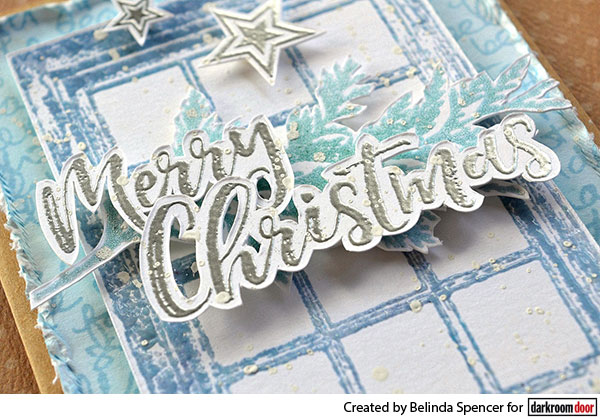
4. Use the stamp positioning tool again to apply the Pine Leaf Eclectic Stamp to smooth white cardstock with the sky blue ink. Re-ink the stamp with Distress Embossing Ink and stamp again. Remove the stamped image from the MISTI. Sprinkle with Ranger Embossing Antiquities Frosted Crystal embossing powder and heat set. Fussy cut the pine leaf and add to the card front with 3D foam.
5. Apply Distress Embossing Ink to the “Merry Christmas” sentiment from the Season’s Greetings Rubber Stamp Set and stamp onto smooth white cardstock. Sprinkle with Ranger Silver Super Fine Embossing Powder and heat set. Fussy cut the sentiment and add to the card front with 3D foam.
6. Heat emboss three stars from the Stars Rubber Stamp Set using the silver embossing powder. Fussy cut and add to the card front with 3D foam. Use a white Posca Pen to flick some ‘snowy’ white splatters across the surface of the card.
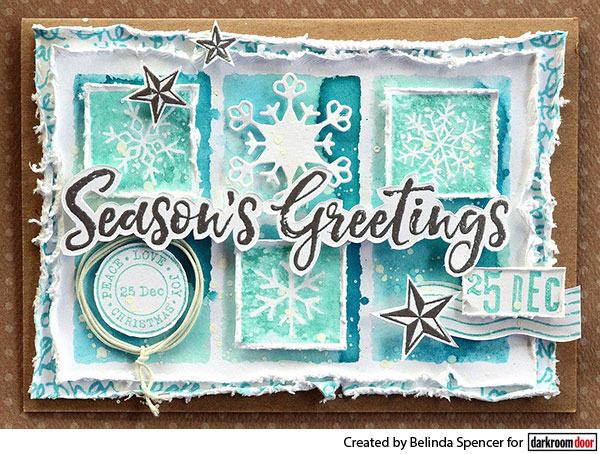
Instructions:
1. Fold a Buffalo Kraft Natural Brown A5 card in half to form the card base.
2. Cut a piece of smooth white cardstock to 10cm x 14cm. Apply the Christmas Script Background Stamp to this piece using Ranger Aquamarine Archival Ink. Distress the edges. Stick down on the card base.
3. Cut another piece of white cardstock measuring 9cm x 13cm. Apply a variety of blue Distress Inks to the Shadow 6 Up Frame Stamp. Spritz with water. Stamp onto the cardstock. Flick some water over the top using your fingertips. Dry with a heat gun. Distress the edges and stick down on the card front.
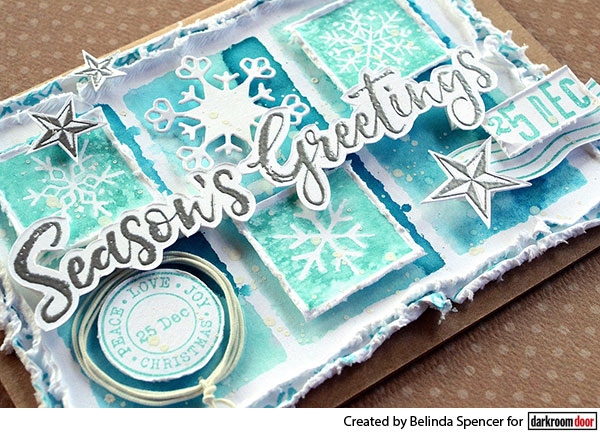
4. Apply Peacock Feathers Distress Ink to three of the Christmas Inchies from the Christmas Inchies Rubber Stamp Set. Spritz with water and stamp on smooth white cardstock. Dry with a heat gun. Cut out with a small border around each. Distress the edges and add to the card with 3D foam.
5. Add a die cut snowflake and a couple more stamped images. Add some wire thread or twine around the circular stamped image.
6. Stamp the sentiment from the Season’s Greetings stamp set on white cardstock using Tim Holtz Distress Embossing Ink. Sprinkle with Ranger Silver Super Fine Detail Embossing Powder and heat set. Stamp some stars in the same way. Fussy cut and add to the card front with 3D foam. To make the sentiment really stand out, add two layers of 3D foam underneath
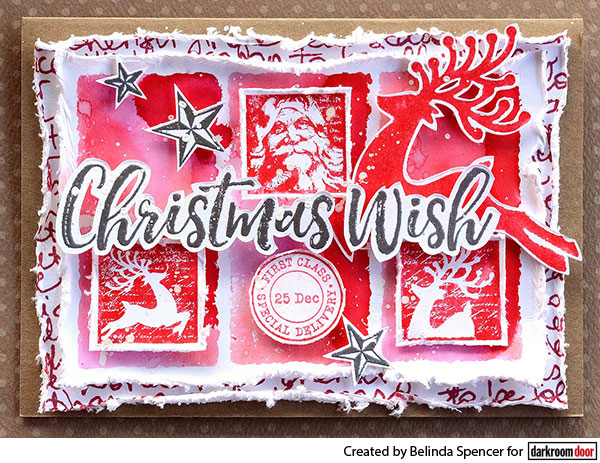
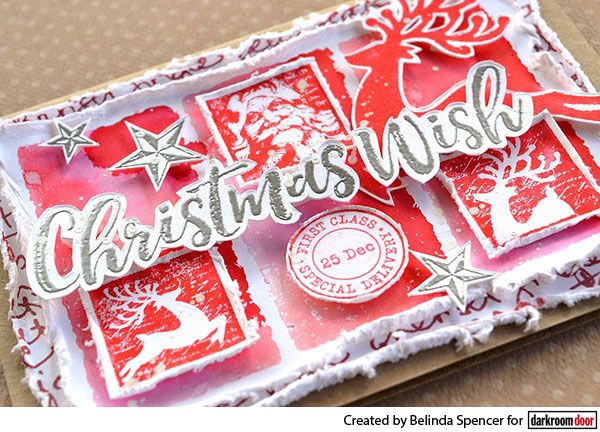
Here’s another card I created using the same technique.
Supplies used:
Darkroom Door Season’s Greetings Rubber Stamp Set
Darkroom Door Stars Rubber Stamp Set
Darkroom Door Christmas Inchies Rubber Stamp Set
Darkroom Door Christmas Reindeer Rubber Stamp Set
Darkroom Door Christmas Script Background Stamp
Darkroom Door Window Frame Stamp
Darkroom Door Shadow 6 Up Frame Stamp
Darkroom Door Pine Leaf Eclectic Stamp
Ranger Archival Ink: Aquamarine, Red Geranium, Sky Blue
Ranger Ultra Thick Embossing Enamel Clear
Ranger Embossing Powder Antiquities Frosted Crystal
Ranger Embossing Powder Silver Super Fine Detail
Distress Embossing Ink
Distress Ink: Abandoned Coral, Broken China, Candied Apple, Mermaid Lagoon, Peacock Feathers, Picked Raspberry
Thanks for stopping by today!
Season's Greetings Cards