- Products
- Blog
- Stockists
- About
- Contact
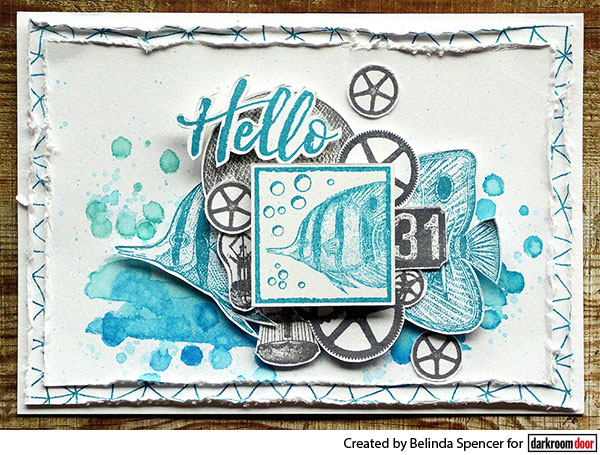
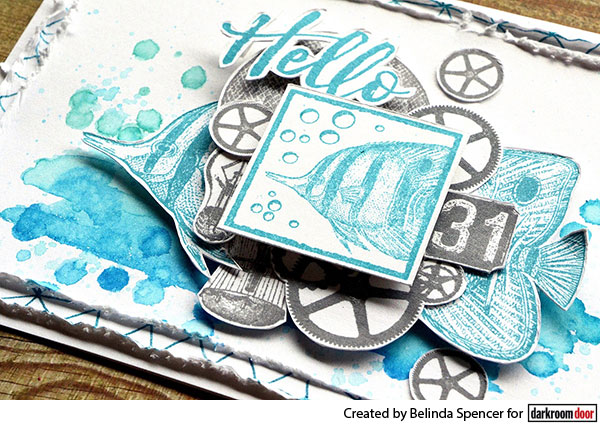
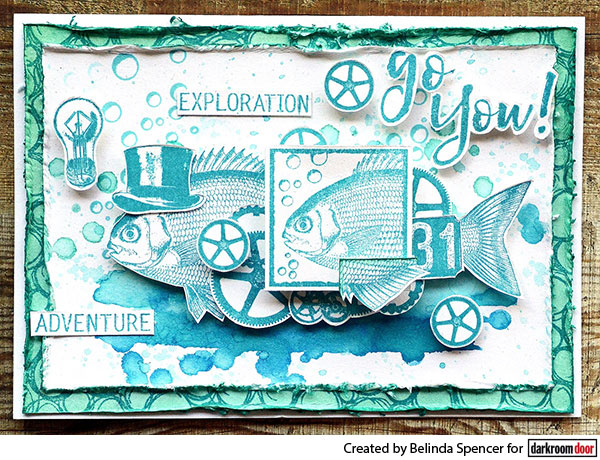
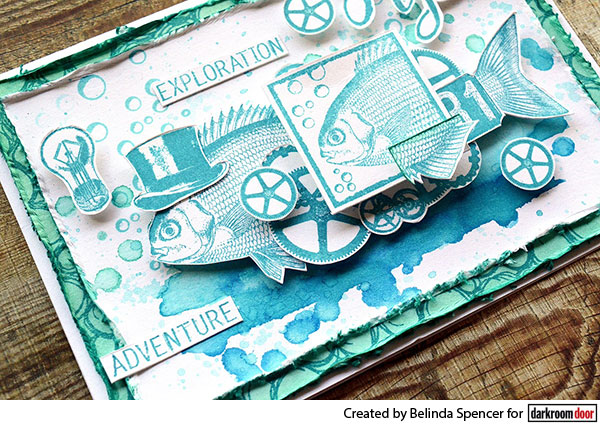
Hi, it's Belinda here today to share four cards I have created using the stunning Seaside Squares Collage Stamp. I have to say that the collage style of card is my absolute favourite and I do love the sea so this stamp is just perfect for me.
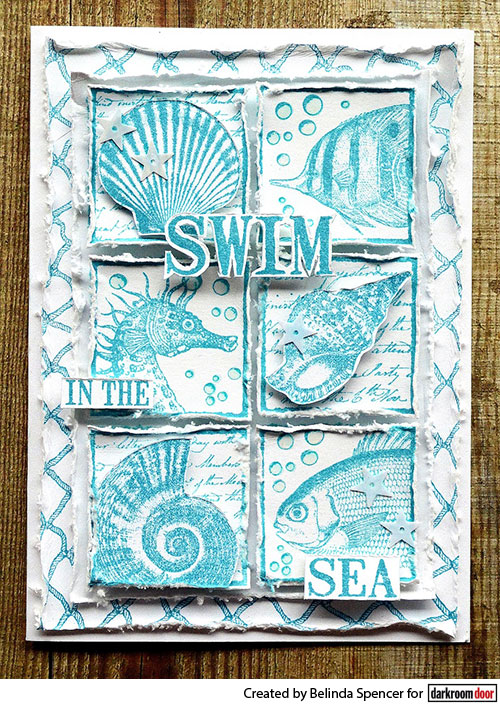
1. Cut a piece of white cardstock 14.5cm x 21cm and fold in half to form the card base.
2. Cut a piece of smooth white cardstock to 10cm x 14cm. Apply the Fishing Net Background Stamp to this piece using Paradise Teal Archival Ink. Distress the edges and stick down on the card base.
3. Cut another piece of white cardstock measuring 8.5cm x 12.5cm. Apply the Shadow 6 Up Frame Stamp to this piece using the Paradise Teal ink. Distress the edges and stick down on top of the Fishing Net background piece.
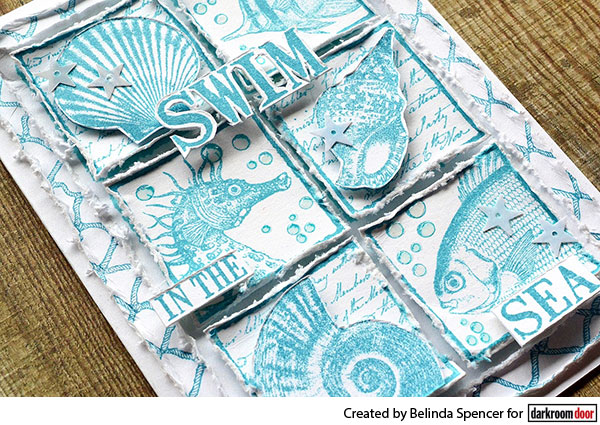
4. Apply the Seaside Squares stamp to another piece of smooth white cardstock using the Paradise Teal ink. Cut out each square with a small border around each. Distress the edges of each square and add to the card front using 3D foam.
5. Stamp the Seaside Squares again on another piece of smooth white cardstock using the same ink. Fussy cut the shells and add to the card front using 3D foam.
6. Apply the Seaside Word Block stamp to another piece of white cardstock and cut out the sentiment. Add to the card front with 3D foam. Glue on some sequins. Apply Glossy Accents to the air bubbles on the squares.
Supplies used:
Darkroom Door Seaside Squares Collage Stamp
Darkroom Door Seaside Word Block Stamp
Darkroom Door Shadow 6 Up Frame Stamp
Darkroom Door Fishing Net Background Stamp
Archival Ink Paradise Teal
Glossy Accents
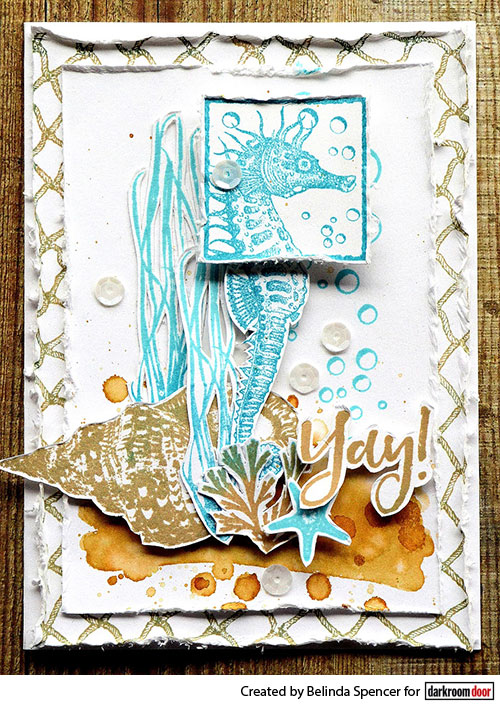
1. Cut a piece of white cardstock 14cm x 20.5cm and fold in half to form the card base.
2. Cut a piece of smooth white cardstock 10cm x 14cm. Apply the Fishing Net Background Stamp using Tree Branch Archival Ink Distress the edges and stick down on the card base.
3. Cut another piece of white cardstock measuring 8.5cm x 12.5cm. Apply Antique Linen and Brushed Corduroy Distress Inks to a stamp from the Watery Washes Stamp Set. Spritz the stamp with water from a mister bottle and apply the stamp to the bottom of the cardstock. Use a wet paintbrush to blend the colours if required. Apply the spotty stamp from the same set in the same way to create more interest for the background. Also stamp the air bubbles from the Under The Sea Stamp Set using Aquamarine Archival Ink.
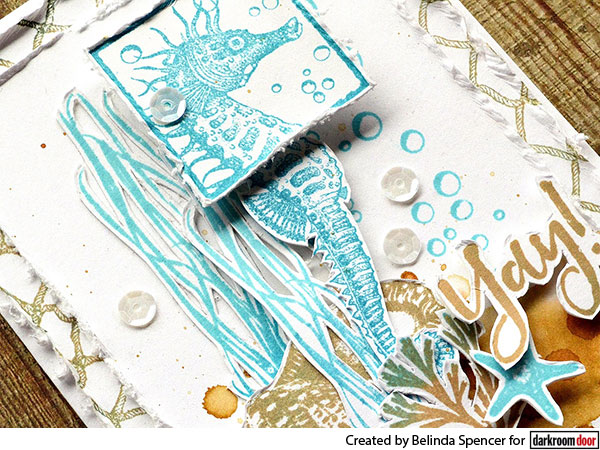
4. On a separate piece of smooth white cardstock, stamp the seaweed twice using Aquamarine and Paradise Teal Archival Inks. Add double sided tape to the back of the stamped images before fussy cutting to create instant stickers. Next stamp the seashell using Tree Branch ink and the coral using an combination of Tree Branch and Aquamarine. Stamp the sentiment and the small starfish also. Fussy cut all of these images.
5. Stamp the seahorse from the Under the Sea set using Paradise Teal ink. Fussy cut. Stamp the Seaside Squares on another piece of smooth white cardstock and cut out the seahorse square only. Distress the edges.
6. Now it is time to assemble all of the stamped and fussy cut images on the card front. Use 3D foam under everything except the seaweed to add dimension to the card. Finish by gluing on some white sequins.
Supplies used:
Darkroom Door Seaside Squares Collage Stamp
Darkroom Door Seashells Rubber Stamp Set
Darkroom Door Under The Sea Rubber Stamp Set
Darkroom Door Brushed Sentiments Rubber Stamp Set
Darkroom Door Watery Washes Rubber Stamp Set
Darkroom Door Fishing Net Background Stamp
Archival Ink: Aquamarine, Paradise Teal, Tree Branch
Distress Ink: Antique Linen, Brushed Corduroy
Seaside Squares Collage Stamp Cards