- Products
- Blog
- Stockists
- About
- Contact
Hi, it’s Belinda Spencer here today to share two different layouts using the stunning new Butterfly Note Eclectic Stamp.
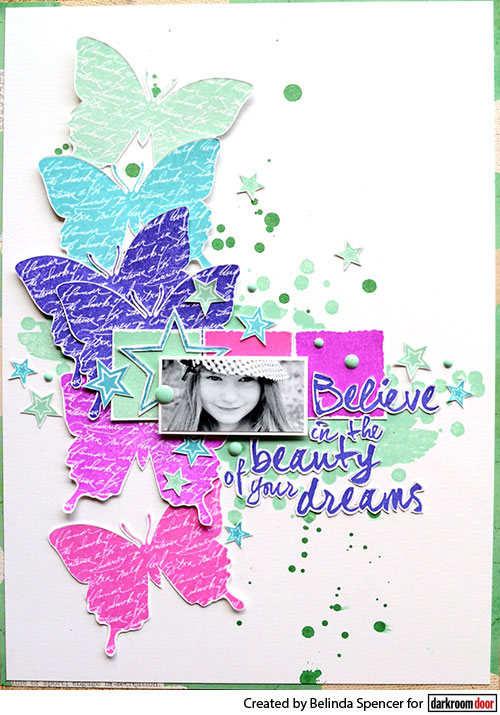
For my first layout, I have added a ‘kaleidoscope’ (Official term for a group of butterflies) of butterflies in beautiful bright Archival Ink colours.
Instructions:
1. Cut a piece of blue cardstock or patterned paper measuring 8½” x 11¾“.
2. Cut a piece of smooth white cardstock 8¼“ x 11½“. Stick down on the piece from Step 1. Add some stamping using a stamp from the Watery Washes Rubber Stamp Set and Viridian Archival Ink. Use the spot stamp from the same stamp set to add some more stamping with the same ink. Flick some more droplets over the layout using a coloured mist Here I have used Lindy’s Stamp Gang Mad Hatter Mint Starburst Spray. Allow to dry.
3. On some extra smooth white cardstock, stamp 6 or 7 butterflies using various Archival Inks. Here I have used a combination of Aquamarine, Cactus Flower, Deep Purple, Magenta Hue and Viridian. Fussy cut each butterfly. Stick down on the layout using glue just under the body of the butterfly.
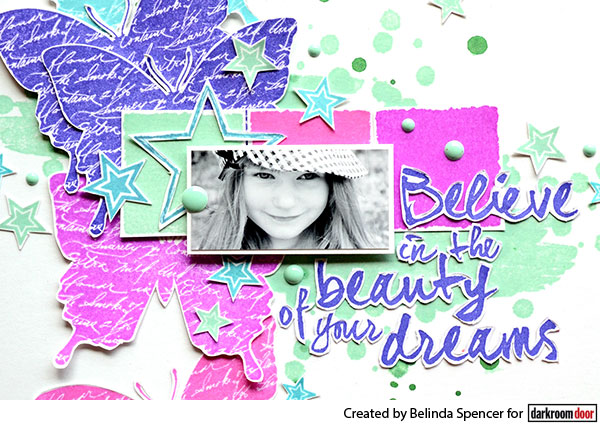
4. Use the Shadow 6 Up Frame Stamp and three of the co-ordinated Archival Inks to stamp 3 squares onto the extra cardstock. Cut out and add to the layout to form a base on which to stick your photo.
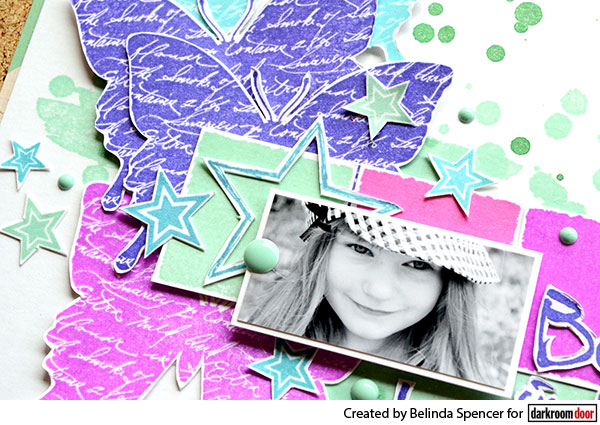
5. Stamp some stars from the Stars Rubber Stamp Set onto the extra white cardstock and cut out. Stick down on the layout. Add your photo.
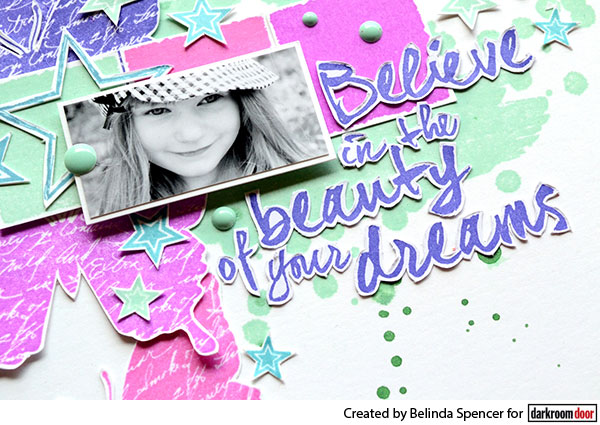
6. Stamp a quote onto the extra cardstock using the Deep Purple ink. Add double sided tape to the back and fussy cut each word. Add to the layout along with some enamel dots, sequins or rhinestones.
Supplies used:
Darkroom Door Butterfly Note Eclectic Stamp
Darkroom Door Dreams Quote Stamp
Darkroom Door Shadow 6 Up Frame Stamp
Darkroom Door Watery Washes Rubber Stamp Set
Darkroom Door Stars Rubber Stamp Set
Ranger Archival Ink: Aquamarine, Cactus Flower, Deep Purple, Magenta Hue, Viridian
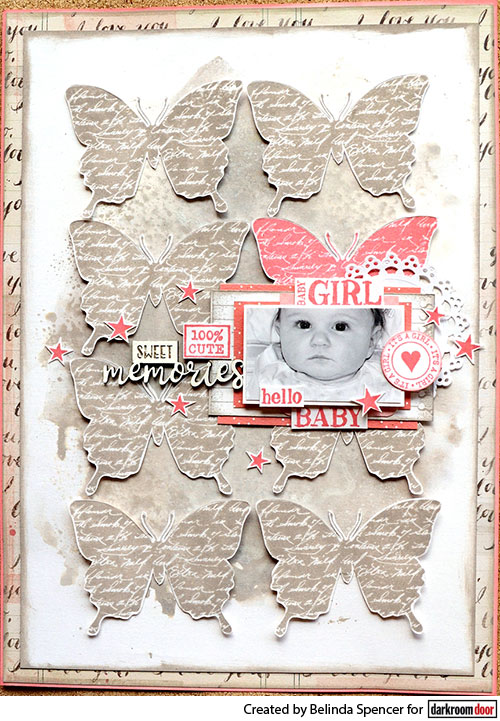
Here is another layout, this time using softer tones of colour. I just love the combination of pretty script text with a gorgeous butterfly silhouette which was just perfect for my baby layout.
Instructions:
1. Cut a piece of pink cardstock 8½” x 11¾”. Cut a piece of co-ordinated patterned paper a fraction smaller. Ink the edges with Hickory Smoke Distress Oxide and stick down on the pink cardstock base.
2. Cut a piece of smooth white cardstock 7¾” x 11”. Place a heat resistant craft sheet on your desk and press the Hickory Smoke Distress Oxide pad onto it. Also add some Picket Fence Distress Ink. Spritz with water and then swipe the white cardstock through it. Dry with a heat gun. Repeat until you are happy with the result. I added a lot more Picket Fence to mine to create a really soft look. Dry with a heat gun and stick down on the layout base.
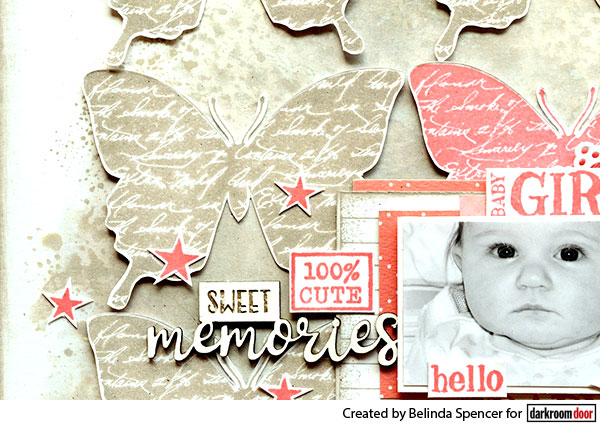
3. Stamp 7 Butterfly Note butterflies on extra smooth white cardstock using the Hickory Smoke Ink. Also stamp 1 butterfly using Rose Madder Archival Ink (Or try using Aquamarine Archival Ink for a sweet baby boy layout). Fussy cut each butterfly and add to the layout using glue just under the body of the butterfly.
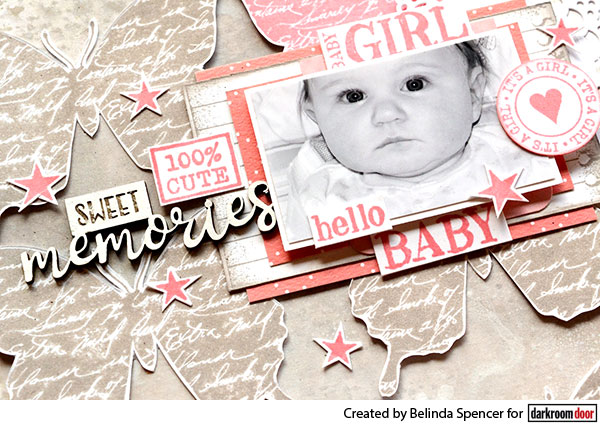
4. On the extra cardstock stamp the note paper from the Hello Baby Vol. 2 Rubber Stamp Set using the Hickory Smoke ink. Cut out and crop to suit your photo. Layer with some co-ordinated patterned papers or make your own patterned papers using any of the awesome Darkroom Door Background Stamps. Layer the papers together and add to the layout with a cute paper doily and your photo.
5. Stamp some stars and other sentiments from the Hello Baby Vol. 1 and 2 stamp sets using the Rose Madder ink pad. Cut out and add to the layout. Paint a chipboard title white and add to the layout.
Supplies used:
Darkroom Door Butterfly Note Eclectic Stamp
Darkroom Door Hello Baby Vol. 1 Rubber Stamp Set
Darkroom Door Hello Baby Vol. 2 Rubber Stamp Set
Ranger Archival Ink Rose Madder
Distress Ink Picket Fence
Distress Oxide Hickory Smoke
Thanks so much for stopping by the blog today!
Cheers
Belinda
Scrapbooking with Butterfly Note Stamp