- Products
- Blog
- Stockists
- About
- Contact
Hi, it's Belinda Spencer here today to share my projects featuring the awesome new 'Numbers' Texture Stamp. This stamp is so cool and I have used it on a Valentine's Day card, a boy card and a girly layout just to show how very versatile it is.
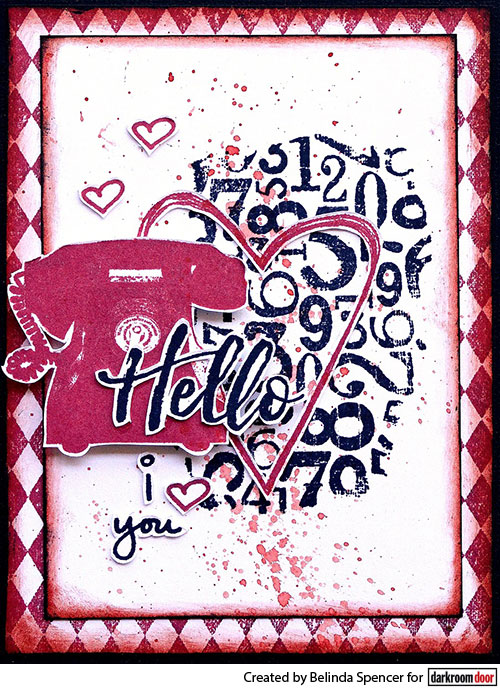
Instructions:
1. Cut a piece of black cardstock 14.5cm x 22cm and fold in half to form the card base.
2. Cut a piece of smooth white cardstock to 10.5cm x 14cm. Apply the Harlequin Background Stamp using Red Geranium Archival Ink. Use an ink blending tool to add Fired Brick Distress Ink. Ink the edges with Black Soot Distress Ink. Stick down on the card base.
3. Cut another piece of white cardstock measuring 9cm x 12cm. Apply the Numbers Texture Stamp on the right hand side of this piece using Jet Black Archival Ink. Use the ink blending tool to apply the Fired Brick ink. Ink the edges with the Black Soot ink. Stick down on the Harlequin stamped piece.
4. On a separate piece of smooth white cardstock and using the Red Geranium ink, stamp the large outline heart from the Hearts Stamp Set as well as three tiny outline hearts. Stamp the vintage telephone from the Vintage Office Stamp Set in the Red Geranium ink also. Using Jet Black ink, stamp the "I {heart} you" quote from the Hearts Stamp Set and the "hello" from the Brushed Sentiments Stamp Set. Fussy cut all elements.
5. Assemble all fussy cut elements on the card front and play around with the arrangement until you are happy with it. Stick down all elements and use 3D foam behind the telephone.
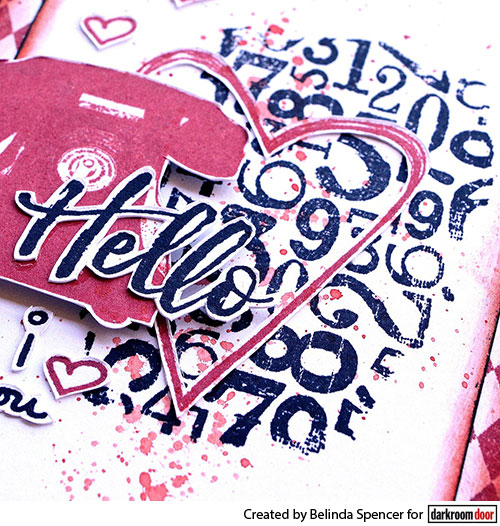
Supplies used:
Darkroom Door Numbers Texture Stamp
Darkroom Door Harlequin Background Stamp
Darkroom Door Hearts Rubber Stamp Set
Darkroom Door Vintage Office Rubber Stamp Set
Darkroom Door Brushed Sentiments Rubber Stamp Set
Archival Ink: Jet Black, Red Geranium
Distress Ink: Black Soot, Fired Brick
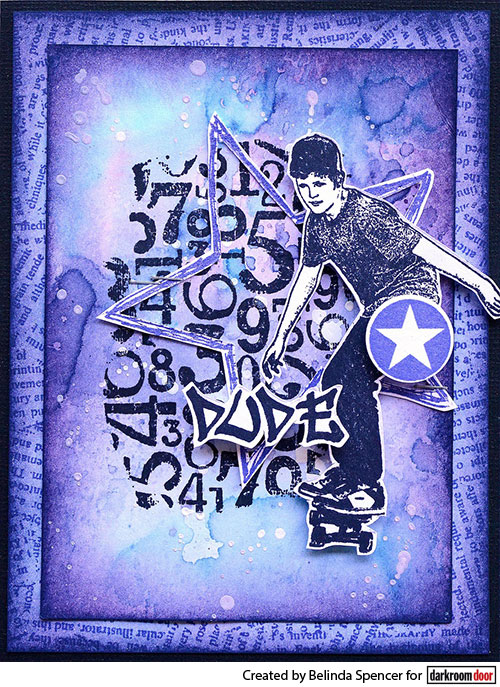
Instructions:
1. Cut a piece of black cardstock 14.5cm x 22cm and fold in half to form the card base.
2. Cut a piece of smooth white cardstock 10.5cm x 14cm. Apply the Torn Text Background Stamp using Deep Purple Archival Ink. Ink around the edges with Mermaid Lagoon, Dusty Concord and Chipped Sapphire Distress Inks. Stick down on the card base.
3. Cut another piece of white cardstock measuring 9cm x 12cm. Apply various blue and purple Distress Inks to a heat resistant craft sheet. Spritz with water. Place the cardstock face down in the inks. Remove and dry with a heat gun. Repeat this process until you are happy with the depth of colour achieved or you have used up all of the ink. Use a white Posca Pen or some diluted gesso to flick some white spots over the surface. Ink the edges with Dusty Concord and Chipped Sapphire inks.
4. Apply the Numbers Texture Stamp to the inked piece using Jet Black Archival Ink. Stick this piece onto the card front.
5. Stamp the large 'criss cross' star from the Stars Stamp Set on some smooth white cardstock using the Deep Purple ink. Cut out the centre of the star and discard. Cut around the outside of the remaining outline of the star adding in a small border. Glue and staple onto the card front.
6. Using the Deep Purple ink, stamp a star circle and punch out. Use the Jet Black ink to stamp a skater boy and a sentiment. Fussy cut and add all elements to the card with 3D foam.
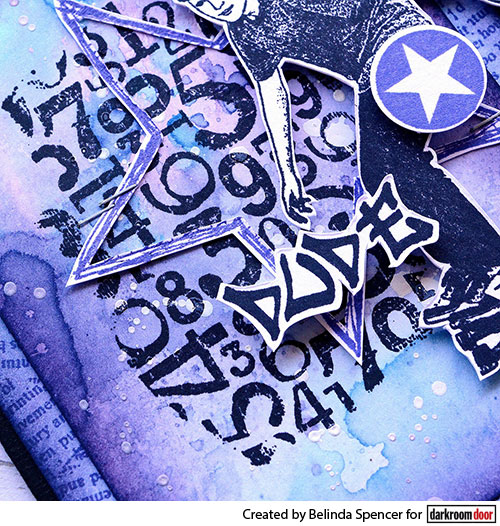
Supplies used:
Darkroom Door Numbers Texture Stamp
Darkroom Door Torn Text Background Stamp
Darkroom Door Skater Rubber Stamp Set
Darkroom Door Stars Rubber Stamp Set
Archival Ink: Deep Purple, Jet Black
Distress Ink: Black Soot, Broken China, Chipped Sapphire, Dusty Concord, Faded jeans, Mermaid Lagoon
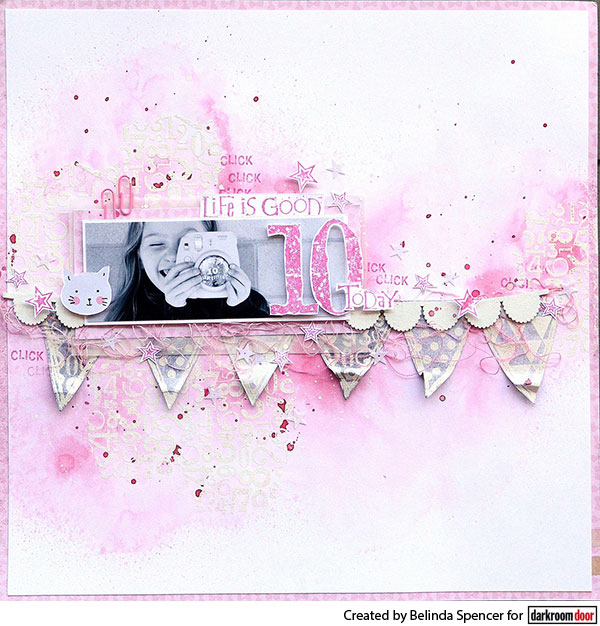
Next up is a pretty, girly layout I created to celebrate my daughter's 10th birthday.
Instructions:
1. Crop a sheet of smooth white cardstock to 29.5cm x 29.5cm. Stick down on a 12" x 12" sheet of pink cardstock or patterned paper.
2. Using embossing ink, apply the Numbers Texture Stamp to the background. Heat set with white embossing powder. Repeat these steps until you have created an interesting background.
3. Spritz the background with water before spraying on a mist in the colour of your choice. Spray on some more water to create lovely pools of colour. Blot the excess with some scrunched up paper towel. Dry with a heat gun.
4. Using embossing ink again, stamp the "Bunting" Border Stamp on another piece of white cardstock. Heat set with white embossing powder. Cut out the bunting. Using a mix of different texture stamps, apply them to each flag of the bunting with embossing ink. (Use scrap paper to mask off flags either side of the one you are working on) Place the bunting on a heat resistant craft sheet. Spritz with water followed by a grey spray mist. Blot away the excess colour from the bunting using scrunched up paper towel. Use a wet wipe to remove any colour residue from the embossed areas. Dry with a heat gun. Stick down on the layout.
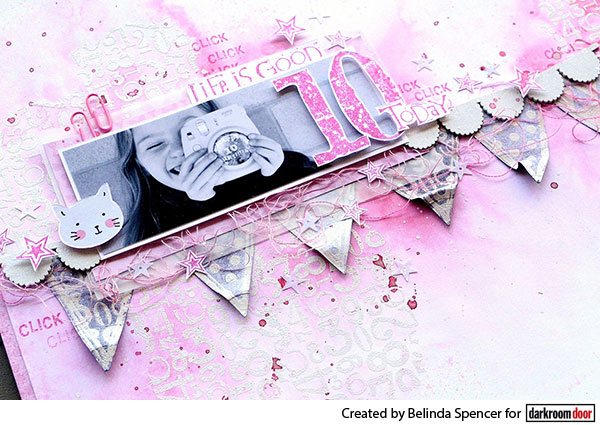
**TIP** Spray some water on the leftover mist on the heat
resistant craft sheet. Swipe some tags or art journal pages through the excess
colour. Now you have instant backgrounds ready to go for future projects.
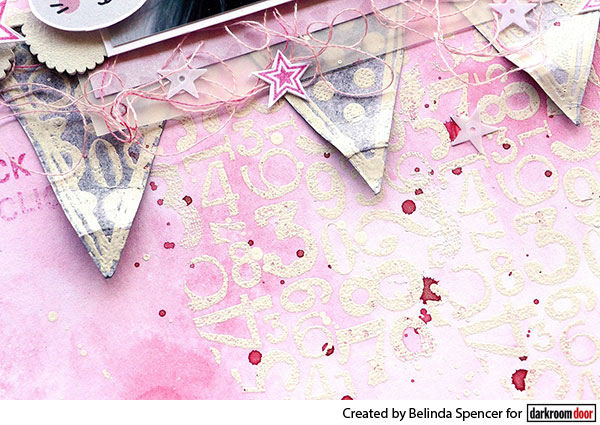
5. Add your photo and patterned paper layers to the layout. Add some strands of pink embroidery thread across the layout. Add a chipboard banner painted with white gesso. Add some stamping to the background using Picked Raspberry Distress Ink. Mask your photo using a scrap of paper and apply some pink splatters over the layout using the pink mist. Add some white splatters using a white paint pen or diluted gesso.
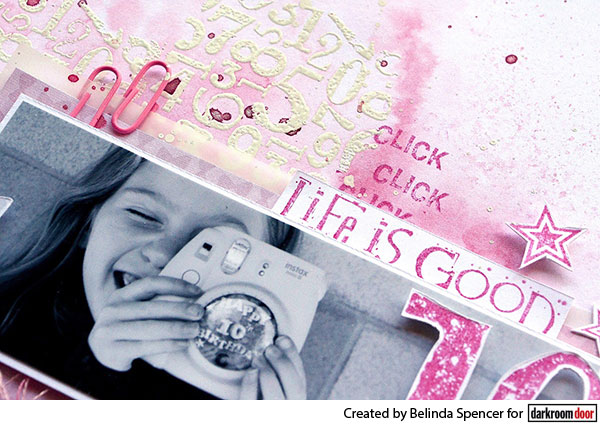
6. On some smooth white cardstock, stamp some stars, numbers and quotes using the Picked Raspberry ink. Fussy cut each element and add to the layout along with any other embellishments to suit.
Supplies used:
Darkroom Door Numbers Texture Stamp
Darkroom Door Triangles Texture Stamp
Darkroom Door Dots Texture Stamp
Darkroom Door Bunting Border Stamp
Darkroom Door Big Numbers Rubber Stamp Set
Darkroom Door Everyday Life Rubber Stamp Set
Darkroom Door Photography Rubber Stamp Set
Darkroom Door Stars Rubber Stamp Set
Ranger Embossing Powder Super Fine White Detail
Distress Ink: Picked Raspberry
Distress Embossing Ink
Thanks so much for stopping by the blog today! I hope you have been inspired by my projects using the Numbers Texture Stamp.
Numbers Texture Stamp Projects