- Products
- Blog
- Wholesale
- Stockists
- About
- Contact
Hi, it’s Anneke De Clerck here with you today to share a book and a card I made with the new Large Dots Stencil. I’m very happy with my collection of large Darkroom Door stencils. Because of their size the stencils are perfect to use on larger projects such as gel prints, art journal pages and book covers but as you can see below the prints look nice on cards as well.
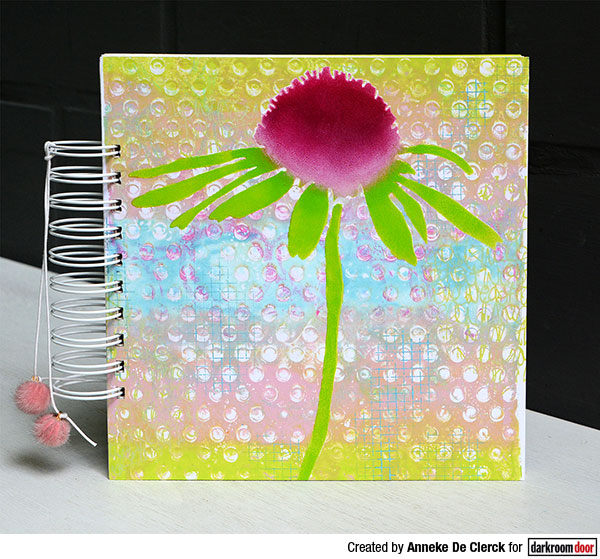
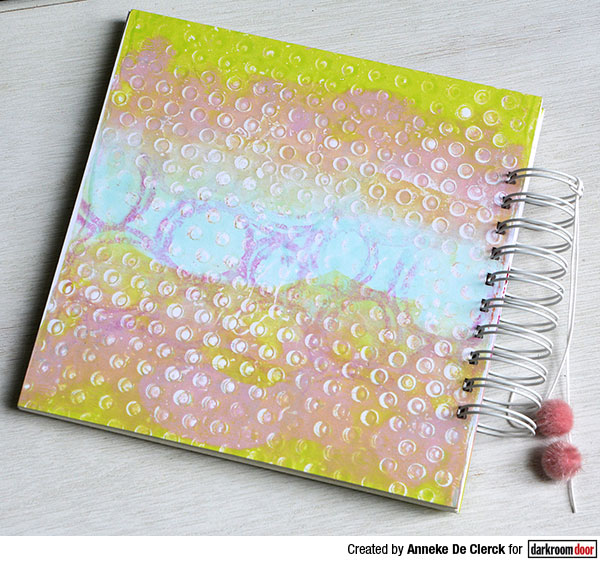
My first project is a 20 x 20 cm spiral bound book I made. I decorated the covers with gel prints. Here is a mini tutorial on how to create those gel prints.
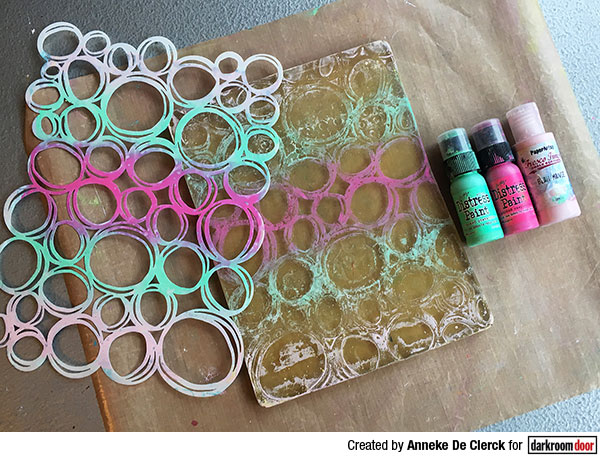
1. Start by applying stripes of fuchsia, pink and green paint to a large gel printing plate with a brayer. Put the Large Circles Stencil on top and pull a few prints for future use. What remains on the plate after removing the stencil is what we need.
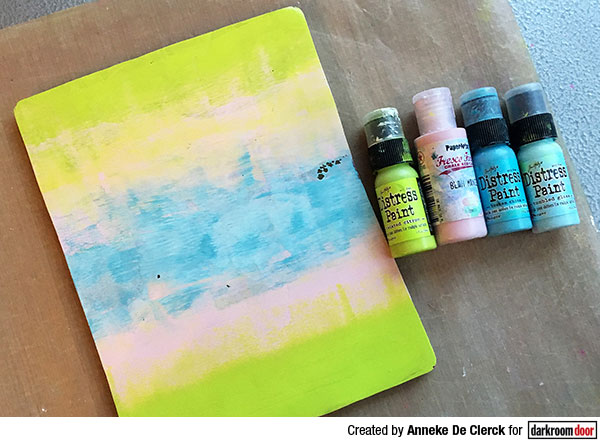
2. When this first layer is touch dry, add stripes of blue, lime and pink paint to the gel printing plate with a brayer. Clean the brayer in between by rolling it over white paper. That paper will be used to decorate the reverse of the covers.
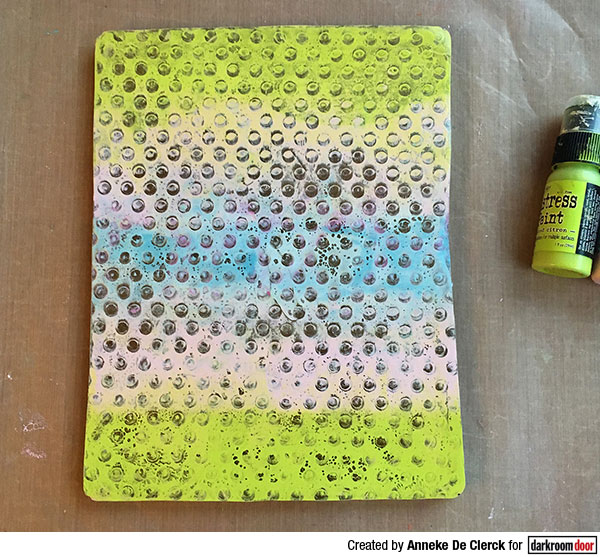
3. Put the Large Dots Stencil on top of the paint on the gel print and cover with a sheet of paper. Roll over the paper with a brayer to make stencil marks into the paint.
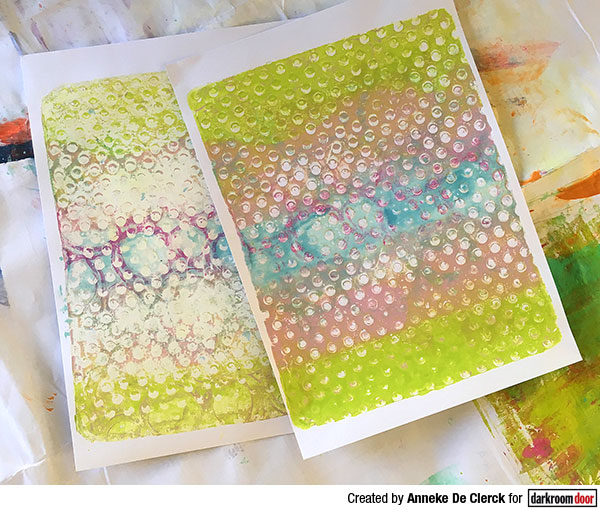
4. Remove the stencil and pull a print and a ghost print. The first print will be used on the book. Repeat all steps to make a second/similar print.
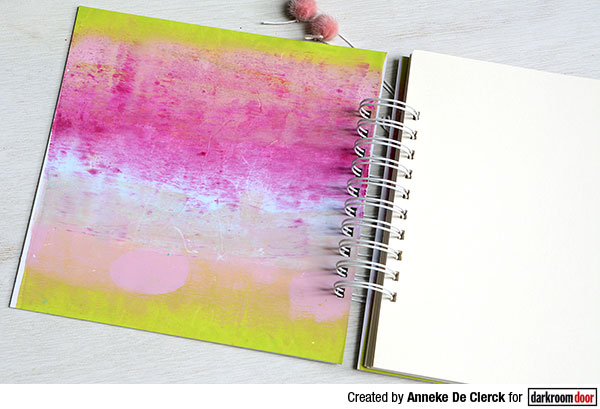
5. For the front and back cover cut two 20 x 20 cm pieces out of cardboard. Adhere the gel prints to the front of the covers and the paper with leftover paint to the reverse using double-sided tape, trim to size. Cover the grey edges of the cardboard with white paint.
6. For the inside pages cut 25 sheets of mixed media paper, size 20 x20 cm.
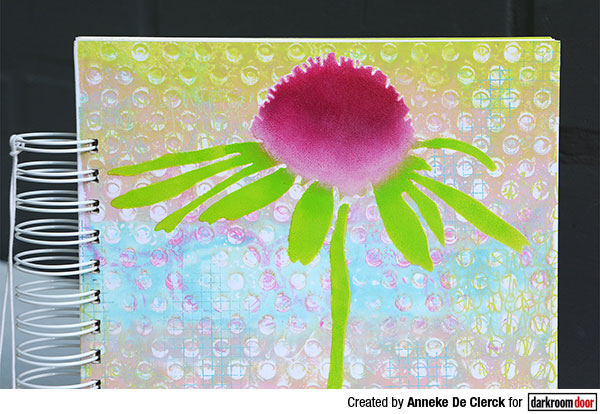
7. Decorate the front cover by stamping randomly with the Inky Script Background Stamp and the Grid Texture Stamp using Distress Oxide Ink Twisted Citron and Broken China.
Put the Large Carved Flowers Stencil on top of the front cover and sponge through it with white paint. Repeat with green, lime, pink and fuchsia paint. Because I worked on a busy background and wanted the colors to be vivid I did the stencilling with white paint first. This white layer makes a perfect undercoat for the colors.
8. Make holes into the covers and inside pages using the Zutter Bind-it-All.
9. Bind the book by adding white wire.
10. Decorate with a piece of white cord and 2 pompons.
Here’s a card also using the Large Dots Stencil:
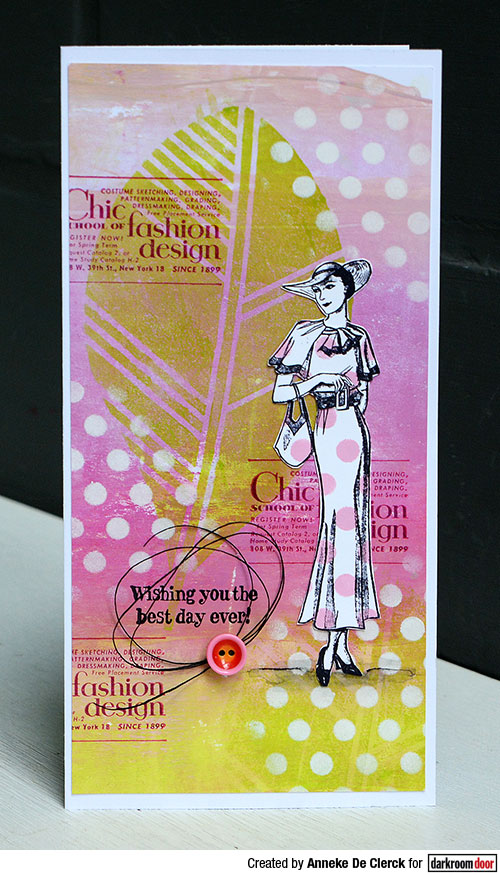
Instructions:
1. Apply lime and fuchsia paint randomly to a sheet of paper using a brayer. Cut a 10.5 x 20 cm card panel out of that paper to use as a background for the card.
2. Sponge a big leaf on top using the Large Carved Leaves Stencil and lime paint.
3. Stamp text randomly using StazOn Ink Cherry Pink.
4. Sponge dots randomly using the Large Dots Stencil and white paint.
5. Put the Large Dots Stencil on top of white paper. Sponge paint through it to create pink dots. Overstamp with a lady from the 1920s Chic Stamp Set. Stamp the lady on white paper as well. Apply the paper piecing technique to add a dotted dress and bag to the black and white print. Adhere to the card.
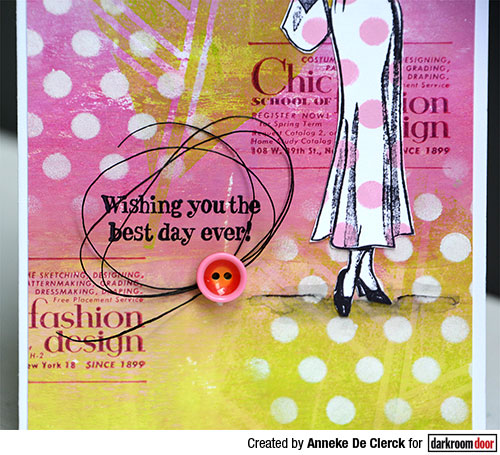
6. Stamp a birthday wish from the Happy Birthday Sentiment Stamps Set using Archival Ink Jet Black. Highlight the wish by adding black thread and a button.
7. Adhere the panel to a tall double card.
Supplies used:
Darkroom Door Large Stencil Dots
Darkroom Door Large Stencil Circles
Darkroom Door Large Stencil Carved Flowers
Darkroom Door Large Stencil Carved Leaves
Darkroom Door 1920s Chic Stamp Set
Darkroom Door Happy Birthday Sentiments Stamp
Darkroom Door Inky Script Background Stamp
Darkroom Door Grid Texture Stamp
Distress Oxide Inks: Twisted Citron, Broken China
Archival Ink: Jet Black
StazOn Ink: Cherry Pink
Distress Paint: Twisted Citron, Tumbled Glass, Cracked Pistachio, Picked Raspberry
PaperArtsy Fresco Finish Chalk Acrylics: Blah Mange
Talens Amsterdam Acrylics: Titanium White, Persian Rose, Yellowish Green
Dina Wakley Media Paint: Fuchsia
Cardboard
Mixed Media paper
1 1/4” O-Wire for Bind-it-All
Thanks for stopping by!
Anneke
Gel Printing With Large Dots Stencil