- Products
- Blog
- Stockists
- About
- Contact
Hello Stampers, it is Godelieve Tijskens here. Today I'm sharing some cards I made with the Fine Baubles Stamp Set. These stamps are my designs, turned into rubber stamps by Darkroom Door. Love the excellent quality of Darkroom Door's red rubber stamps! The set comes with 4 large and 4 small baubles. On my cards I used the large ones.
Here's how I made them.
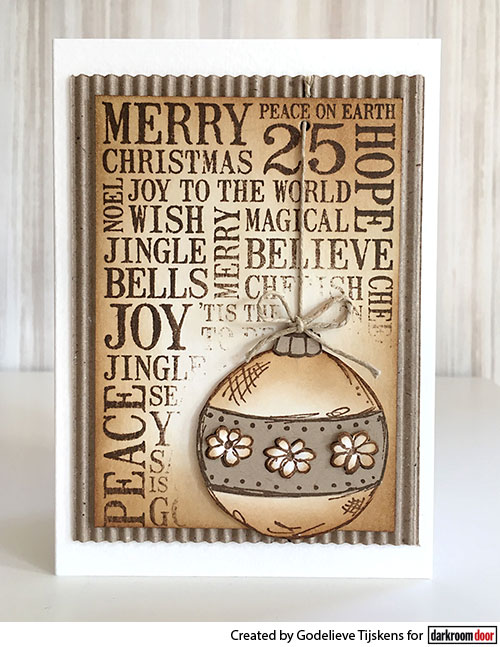
1. Stamp the Christmas Word Block stamp onto cream cardstock, using Archival Ink Potting Soil, but keep the bottom corner uninked, where the bauble will be placed later.
2. Sponge with Distress Ink Vintage Photo using an ink blending tool
3. Stamp the bauble onto cream cardstock with Archival ink. Sponge the top and bottom with Distress Ink
4. Stamp the bauble again onto kraft cardstock and once more on cream, to cut apart.
5. Shape the cut out flowers using an embossing stylus and glue the pieces in place.
6. Create a twine bow to attach to the top.
7. Add a piece of twine, and feed it through a punched hole at the top of the background.
8. Layer onto corrugated cardstock and adhere to a cream card.
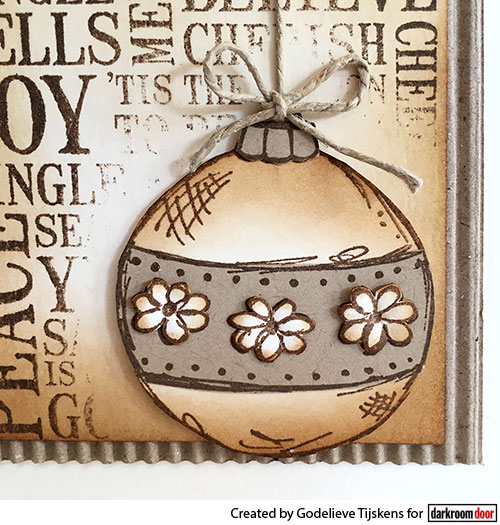
Supplies:
Darkroom Door Fine Baubles Stamp Set
Darkroom Door Christmas Word Block Stamp
Archival Inkpad: Potting Soil
Distress Inkpad: Vintage Photo
Twine
This card is a bright version of the previous card
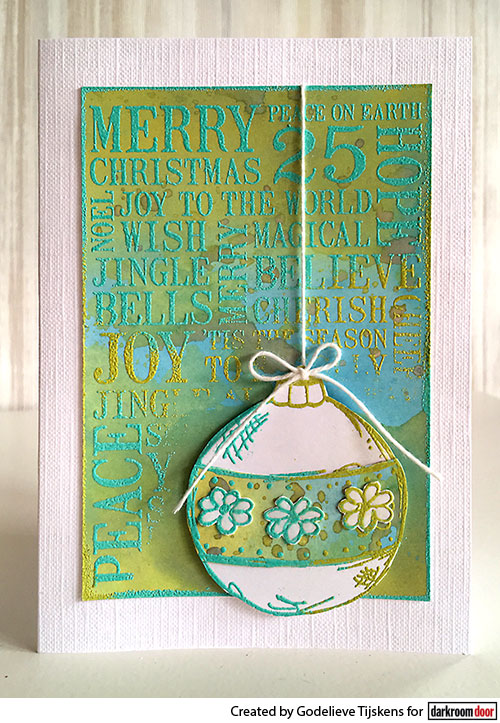
1. Create a Distress Oxide background, by swiping the inkpads onto a non stick craftsheet, mist with water and put the paper in this puddle.
2. Let dry, you can use a heattool, and repeat until you're happy with the result. Let dry completely.
3. Stamp the Word Block stamp onto the Distress Oxide background, and heat emboss with bamboo and turquoise embossing powder.
4. Stamp and heat emboss the bauble stamp on white cardstock
5. Stamp and heat emboss the bauble stamp once more onto a left over piece of the Distress Oxide paper, and onto white cardstock to cut apart.
6. Glue the cut out pieces together, adhere twine and compose the card.
Photo 4.
7. Add Glossy Accents to the flowers for a finishing touch.
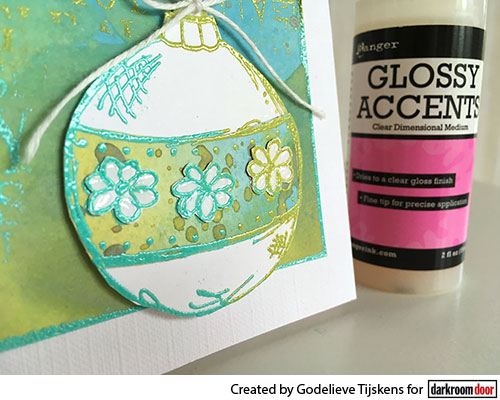
Supplies:
Darkroom Door Fine Baubles Stamp Set
Darkroom Door Christmas Word Block Stamp
Distress Oxide Inkpads: Broken China, Peeled Paint, Fossilized Amber
Embossing Inkpad
Embossing Powder Izink: Turquoise, Bamboo
Glossy Accents
Twine
This 1 layer card was made using the masking technique. Perfect if you want a layered look, but don't like cutting. Although you have to cut some masks first.
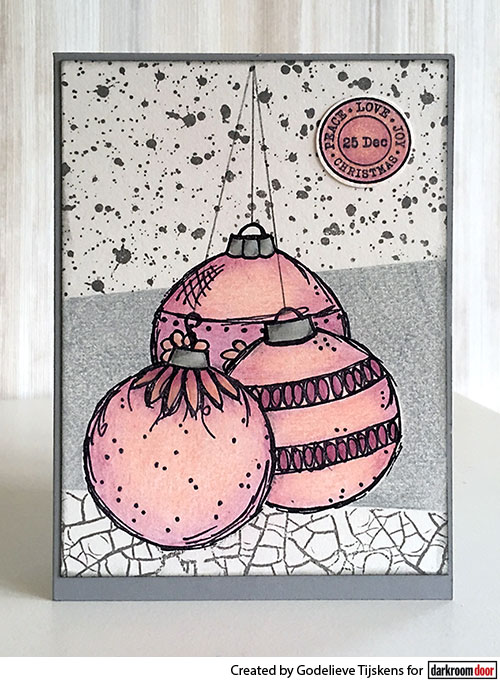
1. Stamp the baubles you want to use onto sticky notes, cut them out to create masks. You can use these masks over and over again.
2. Stamp the first bauble using black Archival ink. Cover with a mask before you stamp the second one. Cover again and stamp a third bauble.
3. Color the baubles. I used pencils on this card.
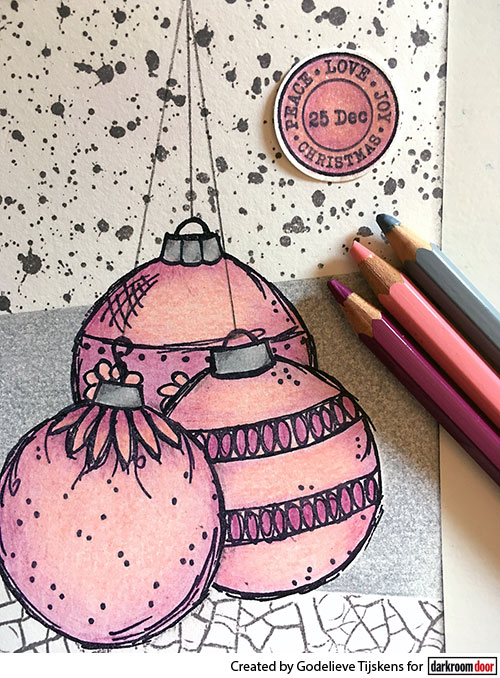
4. After coloring the baubles, cover them again with the masks to do the background.
5. Cover the top and bottom part of the background, to color the center part using a grey pencil.
6. Cover this grey background using sticky notes.
7. Stamp the top part with the Splatter Background stamp using Archival Ink Watering Can.
8. Stamp the bottom part with the Crackle Texture stamp.
9. Draw lines to "hang" the baubles.
10. The circle stamp in the top corner is from the Christmas Reindeer set, stamped with black Archival ink and colored with pencils too.
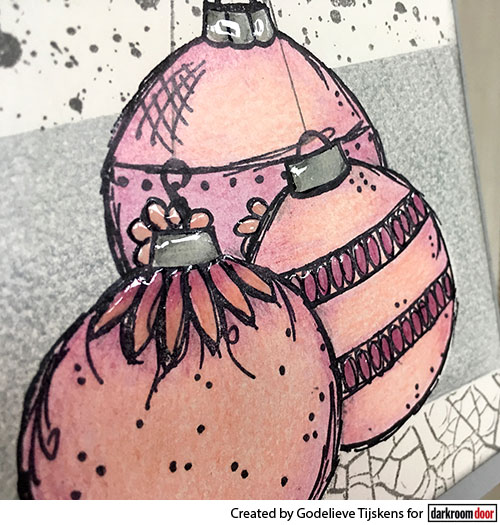
11. Apply Glossy Accents to the baubles
12. Adhere the stamped piece to a white card.
Supplies:
Darkroom Door Fine Baubles Stamp Set
Darkroom Door Christmas Reindeer Stamp Set
Darkroom Door Splatter Background Stamp
Darkroom Door Crackle Texture Stamp
Archival Inkpads: Black, Watering Can
Colored Pencils
Glossy Accents
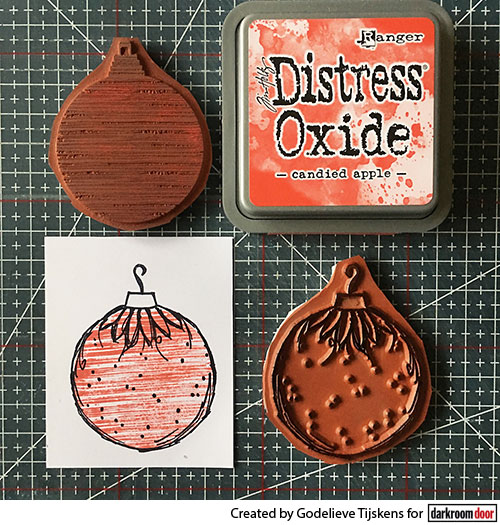
By the way, the large round bauble from the Brushed Christmas stamp set matches with the large ones from the Fine Baubles set.
Thanks for visiting Darkroom Door Blog today!
Godelieve
Fine Baubles cards