- Products
- Blog
- Stockists
- About
- Contact
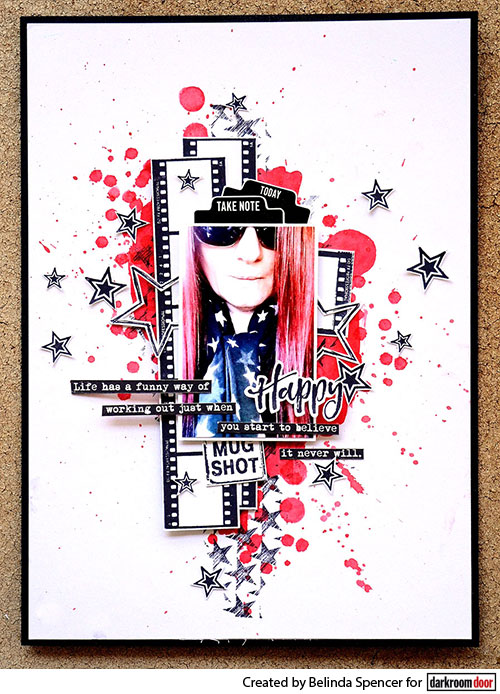
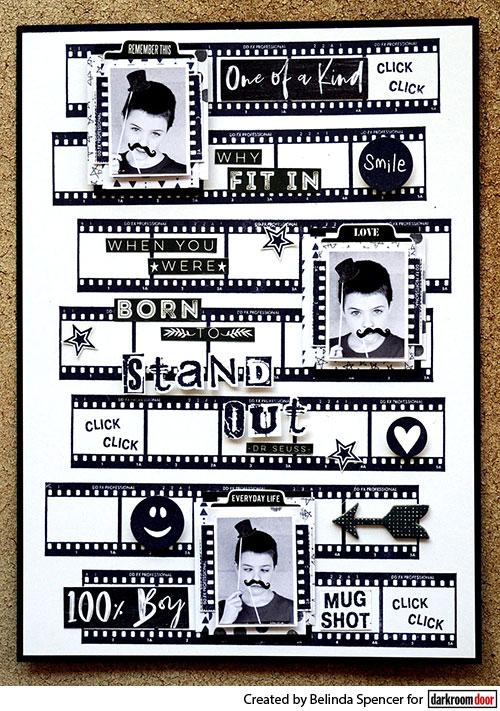
Hello, It’s Belinda Spencer here with you today to share two layouts featuring the fabulous new ‘Filmstrip’ Filmstrip Stamp. This is such a fun stamp to add the perfect detail to layouts, cards, art journals and more. Check out how I have made this stamp the feature of my layouts in two very different ways.

Instructions:
1. Crop a piece of black cardstock to 8½” x 11¾” to form the base of the layout.
2. Crop a piece of smooth white cardstock to 8¼” x 11½”. Stick down on the black cardstock base.
3. Add some vivid colour to the background by applying Festive Berries Distress Ink to some of the Watery Washes and Grunge Marks stamps, spritz with water and stamp over the layout. Use a soft wet paintbrush to blend the stamped images on the page. Press the Festive Berries ink pad onto an acrylic block. Pick up the colour with the paintbrush and flick over the layout. Allow the ink to dry completely.
4. Apply Jet Black Archival Ink randomly to the Brushed Stars Background Stamp. Hold the long sides of the stamp between your fingers squeezing slightly so that just the centre area of the stamp comes into contact with the layout. Repeat until you have just enough to peek out from the sides of your photo and embellishments.
5. Stamp the Filmstrip Stamp twice onto an extra piece of smooth white cardstock using Jet Black Archival Ink. Cut out both filmstrips and add to the layout. Also stamp the negative and the ‘mug shot’ from the Photography Stamp Set as well as a whole bunch of different sized stars from the Stars Stamp Set. Fussy cut each element and add to the layout.
6. Add your photo and other embellishments. Stamp the title on the extra cardstock. Fussy cut the title and add to the page using 3D foam.
Supplies used:
Darkroom Door Filmstrip Filmstrip Stamp
Darkroom Door Brushed Stars Background Stamp
Darkroom Door Photography Rubber Stamp Set
Darkroom Door Stars Rubber Stamp Set
Darkroom Door Brushed Sentiments Rubber Stamp Set
Darkroom Door Watery Washes Rubber Stamp Set
Darkroom Door Grunge Marks Rubber Stamp Set
Archival Ink Jet Black
Distress Ink Festive Berries

Instructions:
1. Crop a piece of black cardstock to 8½” x 11¾” to form the base of the layout.
2. Crop a piece of smooth white cardstock to 8¼” x 11½”. Stick down on the black cardstock base.
3. Apply Jet Black Archival Ink to the Filmstrip Stamp. Stamp repeatedly over the layout from top to bottom making sure to offset each stamp slightly. This forms the background on which each element sits.
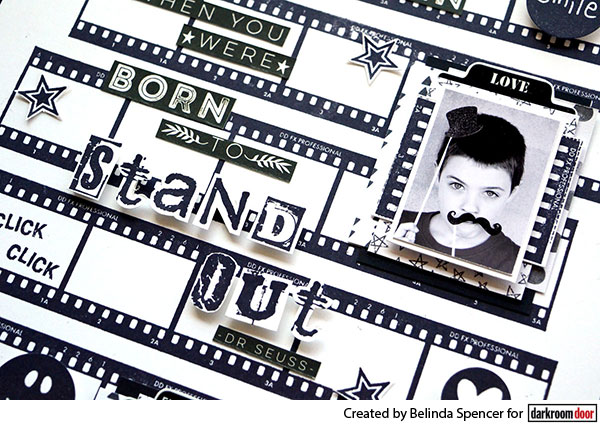
4. Add your photos with layers of patterned paper underneath. Stamp the negative from the Photography Stamp Set three times on extra white cardstock. Cut out and cut each one in half. Add the pieces in under the photos to create a frame.
5. Stamp the title, some stars, circles and any other elements you wish on the extra cardstock with the Jet Black ink. Fussy cut each image and add to the layout.
6. Fill some of the blank spaces in the filmstrips with other stamps appropriate for your photos.

Supplies used:
Darkroom Door Filmstrip Filmstrip Stamp
Darkroom Door Alphabet Medley Rubber Stamp Set
Darkroom Door Photography Rubber Stamp Set
Darkroom Door Simply Circles Rubber Stamp Set
Darkroom Door Stars Rubber Stamp Set
Archival Ink Jet Black
I hope you are feeling inspired to create your own beautiful projects using this fabulous stamp.
Thanks for stopping by the blog today.
Belinda
Filmstrip Stamp Layouts