- Products
- Blog
- Stockists
- About
- Contact
Hello! Today we are sharing lots of yummy projects using the Eat More Cake Quote Stamp!
This first card is by Rachel Greig:
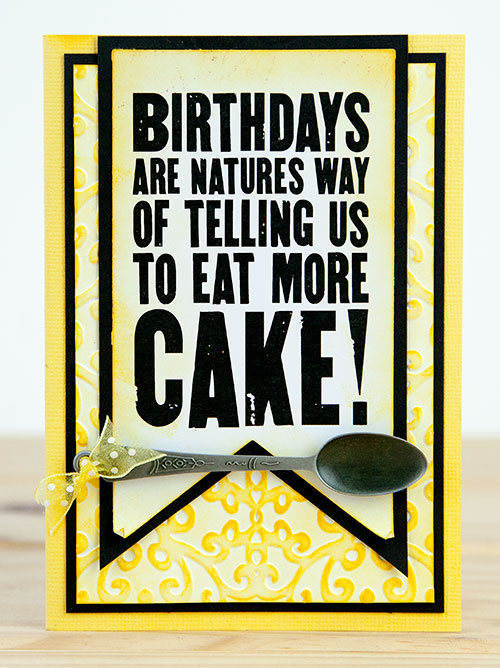
Instructions:
1. Emboss white cardstock with a Damask Embossing Folder and sponge over the top with Squeezed Lemonade Distress Ink. Mount onto black cardstock and then onto a folded yellow card.
2. Die cut a piece of white cardstock using a large banner die, and repeat with black cardstock using a slightly larger banner die. Sponge around the white banner with Squeezed Lemonade Distress Ink. Adhere white banner to black banner.
3. Stamp the Eat More Cake Quote Stamp onto the white banner using Archival Jet Black ink pad. Adhere banner to card.
4. Tie some yellow ribbon through the hole of the teaspoon charm and adhere to card using foam adhesive.
Here's a fun card by Teresa Abajo where she uses a lamp post stamp as a cake holder!
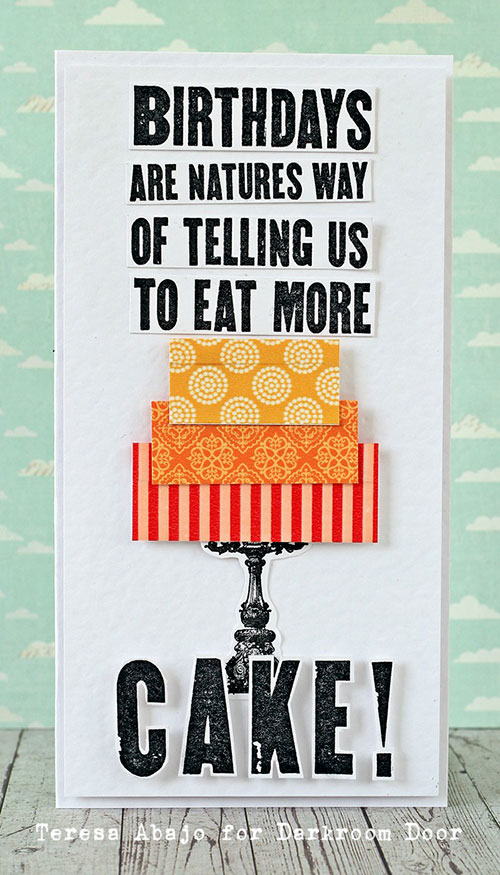
Instructions:
1. Stamp the quote onto white cardstock using Archival ink Jet Black. Cut the words into strips, and the word 'cake' into individual letters.
2. Stamp the lamp post from the Champs Elysee set in black ink, and fussy cut to create a pedestal for the cake. Apply strips of brightly coloured washi tape to scraps of white cardstock and cut to form layers of a cake. Adhere to card above pedestal.
3. Adhere strips of words to card above cake, and the individual letters below the cake.
Connie Mercer has created a delicious cupcake card:
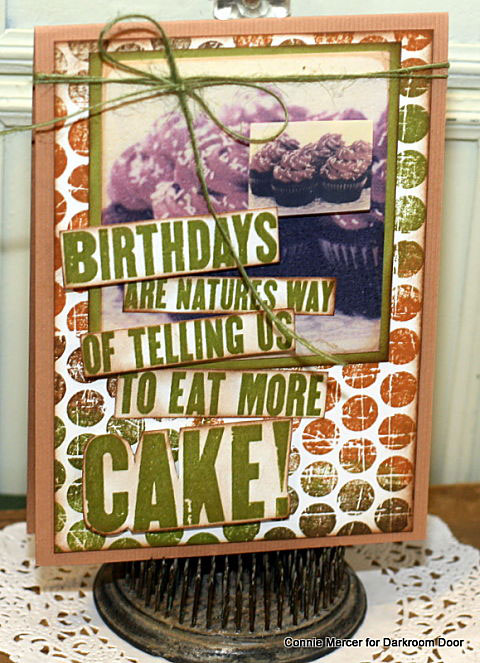
Instructions:
1. Stamp the Polka Dots Background stamp on white cardstock using Sepia and Olive Archival Ink. Trim and shade with Sepia ink. Mount on cardstock.
2. Mat Sweet Treats Photochips with cardstock and add a small Sweet Treats Montage image to the center of the Photochip.
3. Stamp the Eat More Cake Quote on white cardstock. Trim out into word strips and shade with ink. Add to card front. Add small twine around the top of the card.
By now I'm sure we are all hungry for cake, whether it's our birthday or not! ;) Here are some more great ideas from Belinda Spencer:
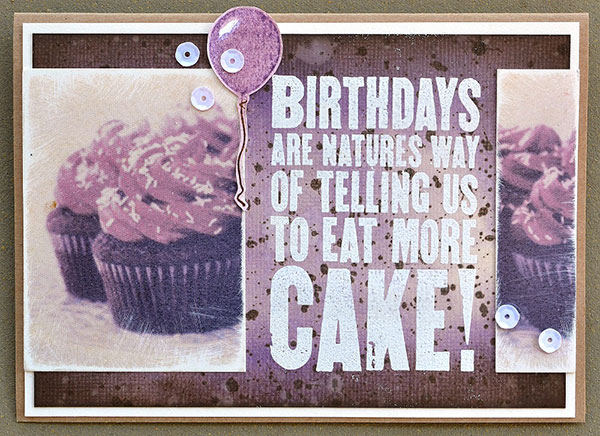
Instructions:
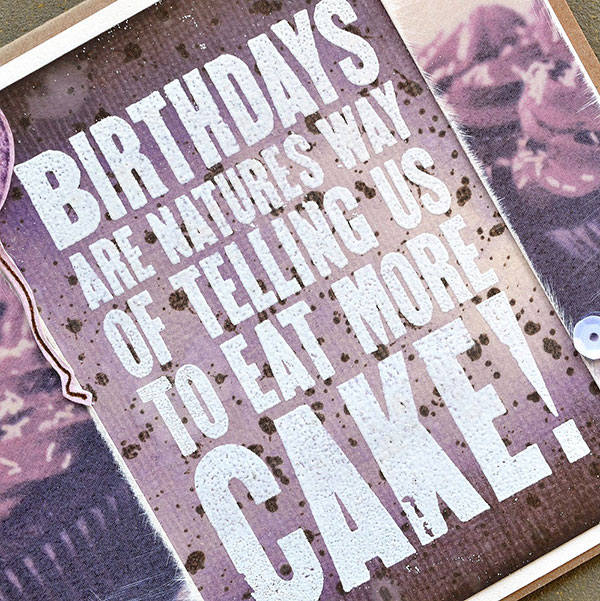
1. Apply the Splatter Background Stamp to a piece of smooth cream coloured cardstock using Potting Soil Ranger Archival Ink. Using an ink blending tool, blend in Tim Holtz Distress Inks in Dusty Concord, Victorian Velvet and Ground Espresso. Flick with water droplets and allow to dry. Stick down on a slightly larger piece of cream cardstock. Add to a kraft cardstock card base.
2. Cut the cupcake photochip into two pieces and add to either side of the card.
3. First ensure that the card front is completely dry from the previous steps. Then apply the quote stamp using Tim Holtz Distress Embossing Ink. Heat set with Ranger Embossing Powder in Super Fine Detail White.
4. Apply the Dusty Concord ink to a balloon from the Party Time Rubber Stamp Set and the Ground Espresso ink to the string. Huff on the stamp with your breath and then stamp onto a scrap of cream cardstock. Add white crayon to the highlight on the balloon before rubbing in some Victorian Velvet ink. Fussy cut and add to the card front. Sprinkle over some silver sequins and glue in place.
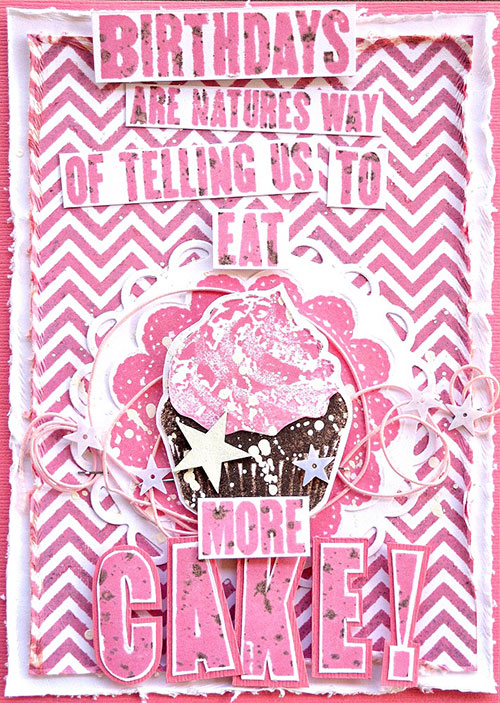
Belinda has also created a card set using different colours:
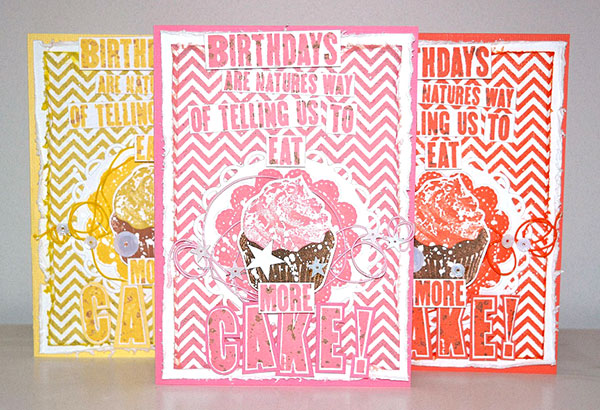
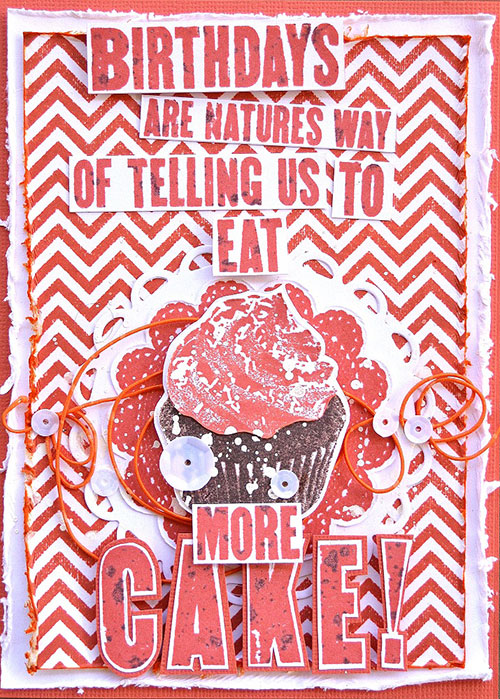
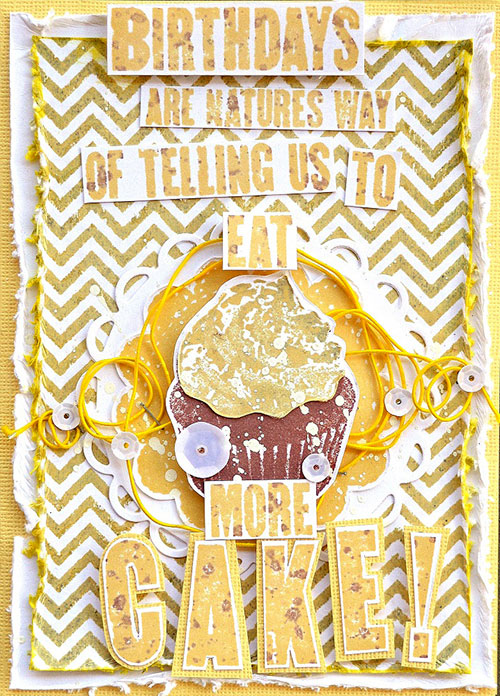
1. Apply the Chevron Background Stamp onto a piece of smooth white cardstock using Rose Madder Ranger Archival Ink. Distress the edges and stick down on a slightly larger piece of white cardstock. Distress the edges of this piece too.
2. Stamp a doily from the Doilies Rubber Stamp Set on white cardstock using the same Rose Madder ink. Fussy cut the doily and layer on top of either a die cut white cardstock doily or a bought one. Add to the card front.
3. Wind some pink wire thread or twine across the card front on top of the doilies and staple in place. Add the card front to a pink cardstock card base.
4. Stamp the cupcake from the Sweet Treats Vol. 1 Rubber Stamp Set twice on smooth white cardstock. Stamp once with Rose Madder ink and again with Potting Soil Ranger Archival Ink. Fussy cut the pink icing from the pink cake and layer on top of the brown cake. Fussy cut the whole cupcake and add to the card using 3D foam. Sprinkle over some white sequin or chipboard stars. Use a white Posca Pen to flick white splats over the card front.
5. Apply Rose Madder ink to the Eat More Cake Quote Stamp. Apply the Potting Soil ink to the Splatter Background Stamp. Now gently place the Splatter Background Stamp face down onto the Quote Stamp. Carefully remove the Splatter Background Stamp and apply the quote stamp onto smooth white cardstock. The splatter design should have transferred to the quote stamp giving a lovely splattered effect on the quote. Fussy cut the individual letters of the word ‘cake’. Cut up the rest of the words as per the example. Stick ‘cake’ and the exclamation mark onto pink cardstock and fussy cut again. Add the quote to the card front.
Supplies used:
Darkroom Door Eat More Cake Quote Stamp
Darkroom Door Champs Elysee Rubber Stamp Set
Darkroom Door Party Time Rubber Stamp Set
Darkroom Door Polka Dots Background Stamp
Darkroom Door Chevron Background Stamp
Darkroom Door Doilies Rubber Stamp Set
Darkroom Door Sweet Treats Vol. 1 Rubber Stamp Set
Darkroom Door Splatter Background Stamp
Darkroom Door Sweet Treats Paper Collection
Distress Ink: Squeezed Lemonade, Spiced Marmalade, Tattered Rose, Dusty Concord, Ground Espresso, Victorian Velvet
Archival Ink: Jet Black, Potting Soil, Sepia, Olive, Chrome Yellow, Coffee, Monarch Orange, Rose Madder
Ranger Embossing Powder White Super Fine Detail
Damask Embossing Folder
Stampin' Up Banners Die Set
Washi Tape
Twine
Thanks for stopping by today! I think it's now time to go eat more cake!
Eat More Cake Quote Stamp Project Ideas