- Products
- Blog
- Wholesale
- Stockists
- About
- Contact
Hi, it’s Anneke De Clerck here today to share some quick and easy cards I made with the new Small Stencil - Circle Set. This set contains a stencil and a mask and I had a great time playing with both!
On the first card I used the stencil. To create the sets of cards I worked with the mask and on the final card I used both the stencil and the mask. The possibilities are endless.

Instructions
1. Put the stencil on top of a top fold card. Hold in place with tape. Stamp a small bird from the Garden Birds set in the circle with black ink. Stamp the bird on masking paper as well, cut out and adhere that mask on top of the bird on the card.
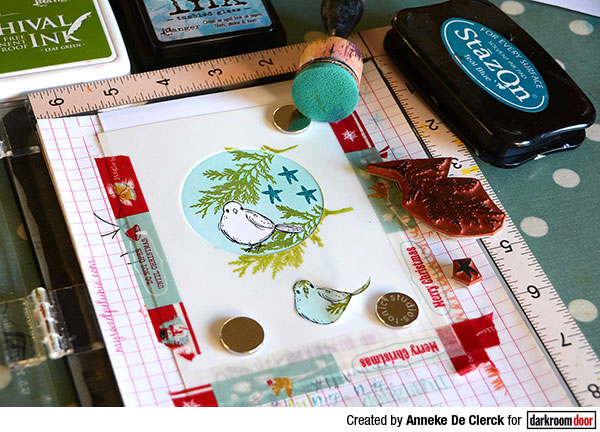
2. Apply Distress Ink Tumbled Glass through the stencil using a blending tool. Colour the entire circle. Leave the stencil in place.
3. Stamp branches in the circle using Archival Ink Leaf Green. Stamp stars using Stazon Ink Teal Blue.
4. Remove the bird mask and the stencil. Draw ‘strings’ using a black fineliner.
5. Stamp a wish from the Yuletide Greetings set at the bottom of the card.
Instructions
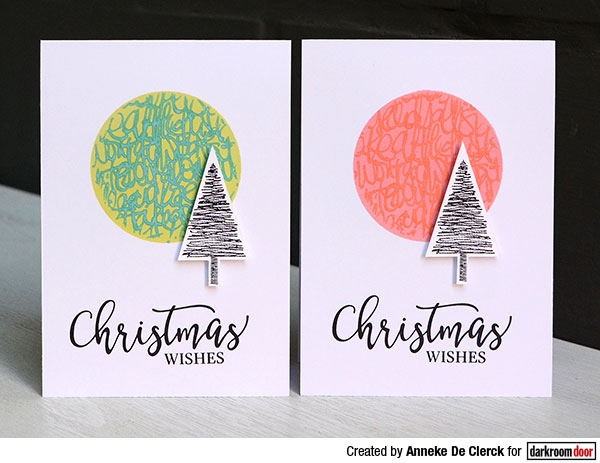
1. Put the stencil on top of a top fold card. Hold in place with tape.
2. Apply Distress Oxide Ink Worn Lipstick through the stencil using a blending tool. Leave the stencil in place while stamping through it with the Inky Script Background Stamp and Distress Oxide Ink Ripe Persimmon. Remove the stencil. Repeat on a second card using Cracked Pistachio and Mermaid Lagoon.
3. Stamp a wish from the Yuletide Greetings set at the bottom of each card.
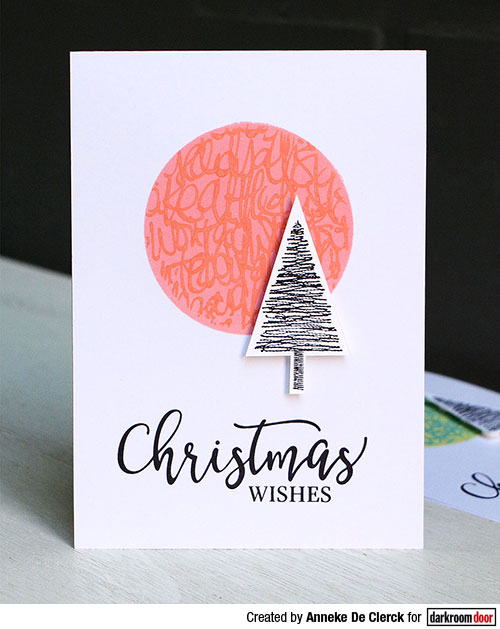
4. Stamp two small trees from the Stitched Christmas set with black ink, cut out and adhere using 3D dots.
Instructions
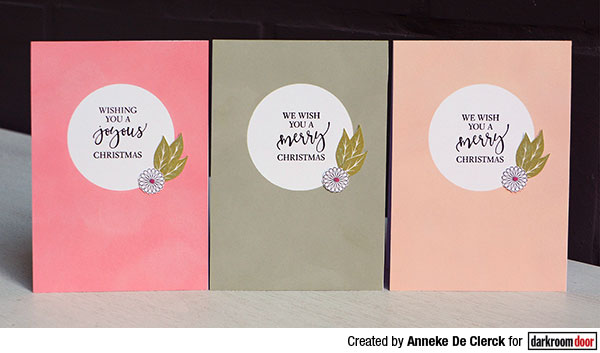
1. Put the mask on top of a card. Hold in place with one hand while colouring the background with Distress Oxide Ink using a blending tool. On this set of cards I used the following colours: Worn Lipstick, Bundled Sage and Tattered Rose. Carefully remove the mask.
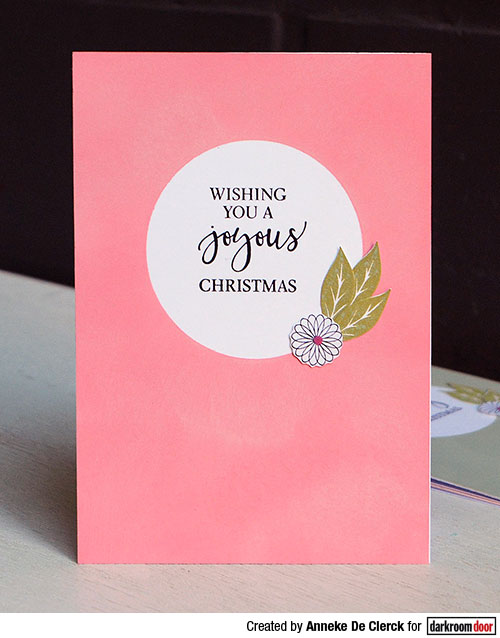
2. Stamp a Christmas wish from the Yuletide Greetings set in the middle of each circle using Archival Ink Jet Black.
3. Make multiple prints with the smallest leave from the Carved Leaves Vol 1 set using Distress Oxide Ink Peeled Paint and cut out.
4. Stamp three small flowers from the String Sentiments set on white paper and cut out. Decorate the centres of the flowers by adding a dot with a paint marker.

5. Attach leaves and flowers on the cards as shown.
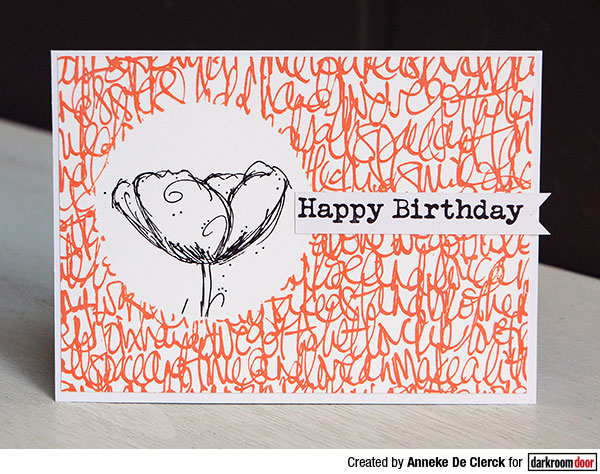
Here’s another idea, this time for a birthday card:
Instructions:
1. Put the mask on top of a card panel. Overstamp with the Inky Script Background Stamp using Distress Oxide Ink Ripe Persimmon.
2. Remove the mask. Put the stencil on top of the print after drying. Stamp a flower from the Fine Flowers Vol 2 through the stencil in the white circle
3. Stamp a birthday wish on a scrap of white paper. Cut into a banner and glue in place.
4. Adhere the panel to a white card,
Supplies used:
Darkroom Door Small Stencil – Circle Set
Darkroom Door Yuletide Vol 2 Rubber Stamps
Darkroom Door Garden Birds Rubber Stamps
Darkroom Door Yuletide Greetings Rubber Stamps
Darkroom Door Stitched Christmas Rubber Stamps
Darkroom Door String Sentiments Rubber Stamps
Darkroom Door Carved Leaves Vol 1 Rubber Stamps
Darkroom Door Fine Flowers Vol 2 Rubber Stamps
Darkroom Door Happy Birthday Rubber Stamps
Darkroom Door Inky Script Background Stamp
Archival Ink: Jet Black & Leaf Green
Stazon Ink: Teal Blue
Distress Ink: Tumbled Glass
Distress Oxide Inks: Worn Lipstick, Ripe Persimmon, Cracked Pistachio, Mermaid Lagoon, Bundled Sage, Tattered Rose, Peeled Paint
Thanks for stopping by!
Anneke
Circle Stencil Set Cards