- Products
- Blog
- Stockists
- About
- Contact
Hi Stampers! It is Godelieve Tijskens here, sharing some cards I made with the Oval Stencil Set. I love that this stencil comes as a set and you can use both parts or just one part of the stencil. Here’s a look at the 4 cards I have created:
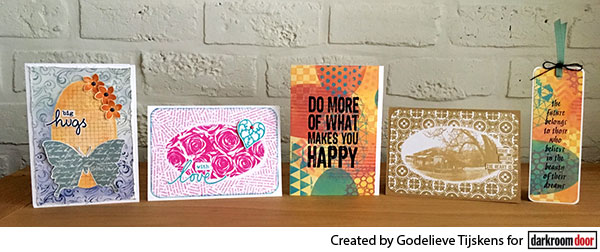
Let’s take a closer look at each card and how I created them.
Instructions:
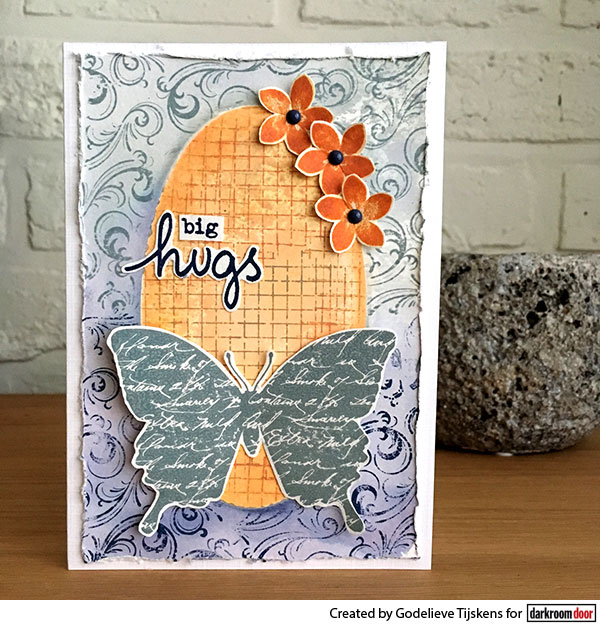
1. On this card I used the stencil set as stamps to create a coloured background. I inked the stencils with Distress Oxide inks using mini ink blending tools, then misted water and pressed the stencils onto the smooth watercolour paper.
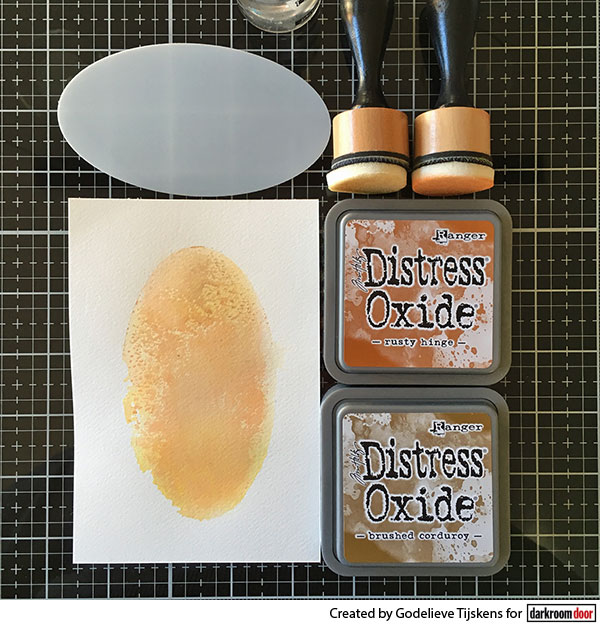
2. Rusty Hinge and Brushed Corduroy Distress Oxide Inks were used on the oval mask, Chipped Saphhire and Weathered Wood on the stencil.
3. The same inks were used to stamp the Grid texture over the oval and the Swirls Texture around the oval.
4. The Butterfly was stamped with Weathered Wood and cut out.
5. The small flower is from an early, but timeless stamp set: Full Bloom Vol 2. I stamped it with Rusty Hinge.
6. I have cut the flowers out, used a stylus to shape them and glued an enamel dot to the center.
7. The saying is from the Simple Sayings Vol 2 set, stamped with Chipped Sapphire and cut out.
8. The pieces were glued in place, and the paper distresser was used on the edges of the panel before I glued it onto a white folded card.
Supplies used:
Darkroom Door Small Stencil: Oval Set
Darkroom Door Texture Stamps: Grid, Swirls
Darkroom Door Eclectic Stamp: Butterfly Note
Darkroom Door Stamp Sets: Simple Sayings Vol 2, Full Bloom Vol 2
Distress Oxide Inkpads: Brushed Corduroy, Rusty Hinge, Weathered Wood, Chipped Sapphire
Tonic Paper Distresser
Echo Park Enamel Dots
Mini Ink Blending Tools
Next I made two cards, using the same technique, but different stamps and colours.
Instructions:
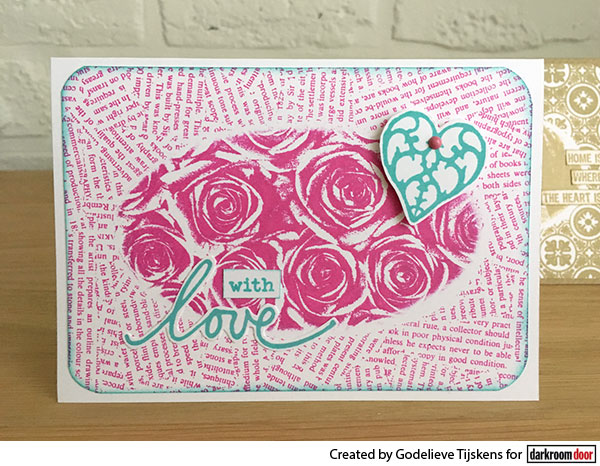
1. To stamp the Roses Photo Stamp in an oval shape, I have covered the stamp with the Oval stencil to ink it up with Archival Ink Vibrant Fuchsia.
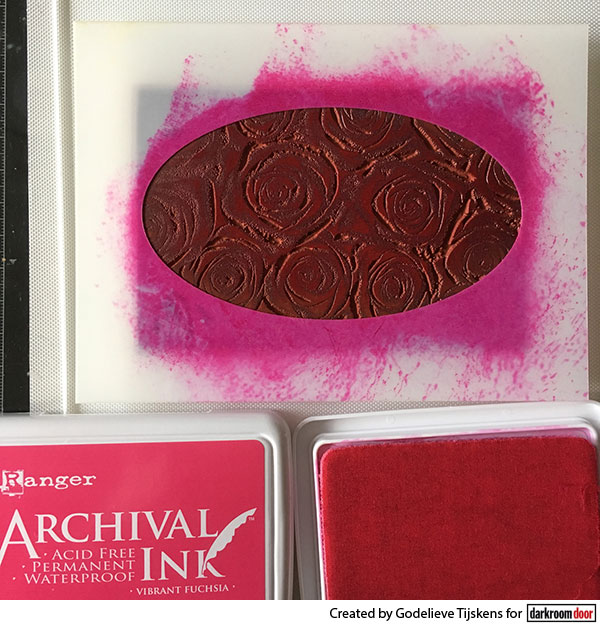
2. This way the stamped image gets a soft edge.
3. The same Archival Ink was used for the Torn Text Background stamp.
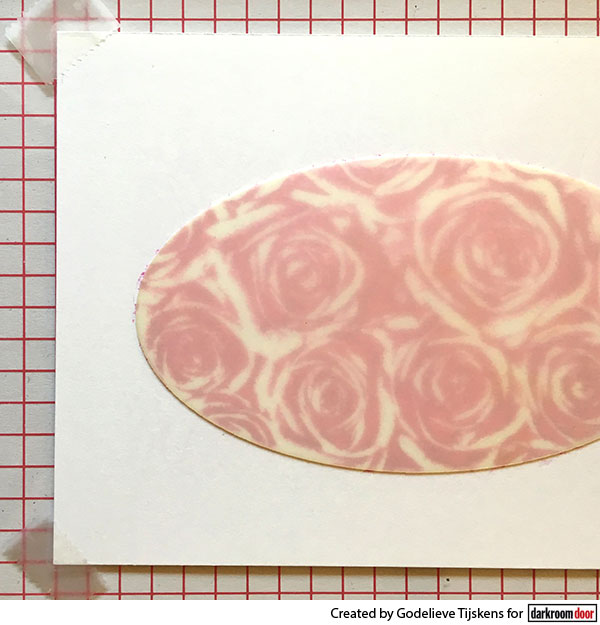
4. I covered the stamped roses with the oval mask and used tape on the 4 corners of the cardstock to keep it in place in the Misti, before I stamped the background. Love how the soft edge and the halo work as a frame around the roses.
5. The cardstock was cut to size, the corners rounded and the edges inked with Archival Ink Garden Patina.
6. I chose a stamp from the Hearts stamp set, stamped it with Garden Patina and cut it out.
7. Words are from the Hearts and Simple Sayings Vol 1 stamp set, also stamped with Garden Patina, and cut out.
8. I glued the cut out pieces in place and attached an enamel dot to the heart.
9. The panel was adhered to a white folded card.
Supplies used:
Darkroom Door Small Stencil: Oval Set
Darkroom Door Photo Stamp: Roses
Darkroom Door Background Stamp: Torn Text
Darkroom Door Stamp Sets: Hearts, Simple Sayings Vol 1
Archival Inkpads: Vibrant Fuchsia, Garden Patina
Echo Park Enamel Dots
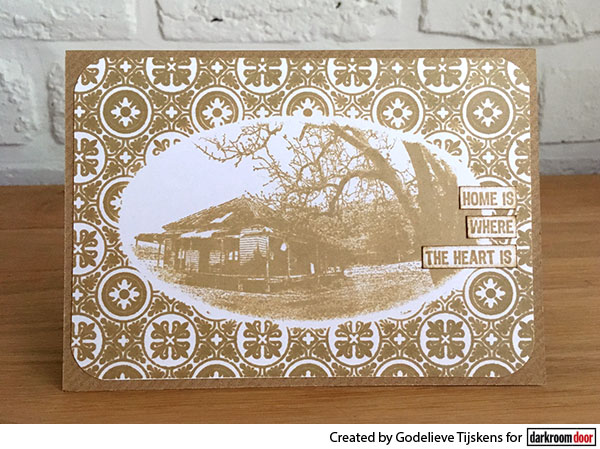
On the second card I used the Country Cottage Photo Stamp and the Spanish Tiles Background stamp with Archival Ink Tree Branch. The words are from the Home Sweet Home stamp set. This panel was glued onto a kraft folded card.
Supplies used:
Darkroom Door Small Stencil: Oval Set
Darkroom Door Photo Stamp: Country Cottage
Darkroom Door Background Stamp: Spanish Tiles
Darkroom Door Stamp Sets: Home Sweet Home
Archival Inkpad: Tree Branch
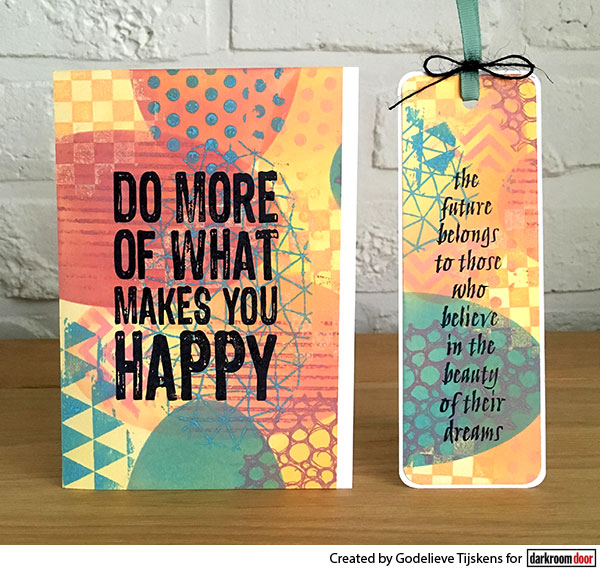
Lastly I have made a matching card and bookmark.
Instructions:
1. On a 15 x 15cm piece of smooth watercolor paper I sponged with Distress Oxide Scattered Straw to get a light background.
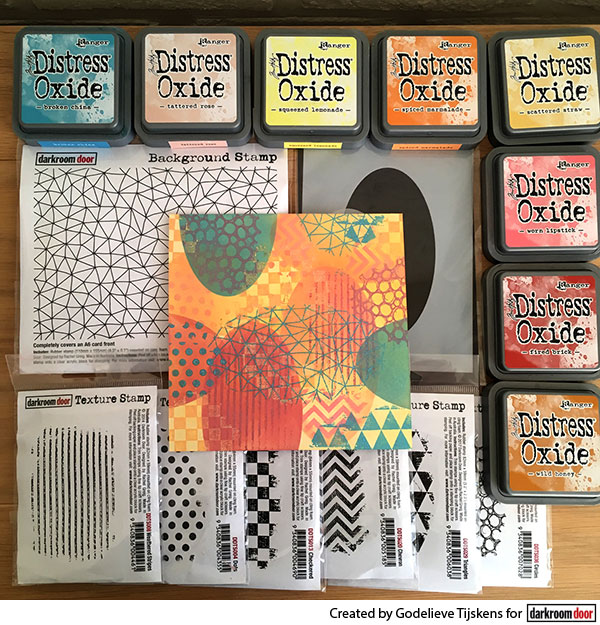
2. I used the Oval stencil with several Distress Oxide inkpads and Texture stamps to sponge and to stamp, layer after layer.
3. I also used the Abstract Triangles background stamp.
4. When I was happy with the result the paper was cut to card size.
5. I stamped the Happy quote with black Archival ink and glued the panel onto a white folded card.
The left over piece was perfect for a bookmark. A stamp from the Art De Fleur Vol 1 set was used here with black Archival ink.
I rounded the corners and glued the stamped piece onto white cardstock. To finish off the bookmark I used ribbon and twine.
Supplies used:
Darkroom Door Small Stencil: Oval Set
Distress Oxide Inkpads: Scattered Straw, Squeezed Lemonade, Broken China, Worn lipstick, Spiced Marmalade, Fired Brick, Wild Honey, Tattered Rose
Darkroom Door Texture Stamps: Chevron, Weathered Stripes, Checkered, Circles, Triangles, Dots
Darkroom Door Background Stamp: Abstract Triangles
Darkroom Door Quote Stamp: Happy
Darkroom Door Stamp Set: Art De Fleur Vol 1
Archival Inkpad: Jet Black
Mini Ink Blending Tools
Thank you very much for visiting the blog today.
Godelieve
Cardmaking With The Oval Stencil Set