- Products
- Blog
- Stockists
- About
- Contact
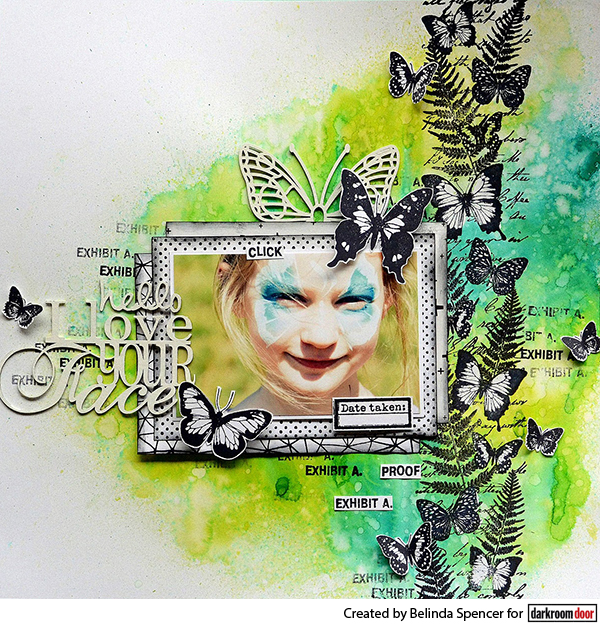
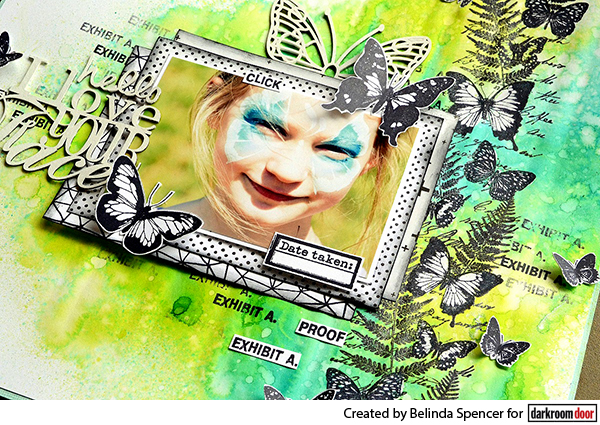
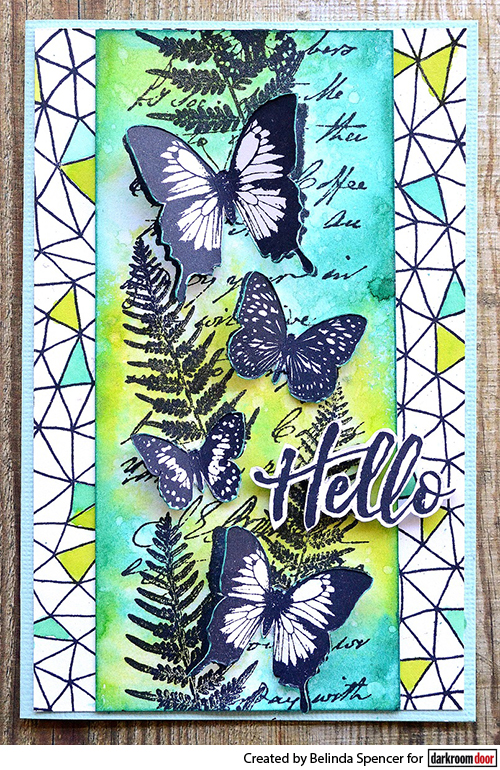
Hi, it’s Belinda Spencer here today to share a scrapbook layout and a card featuring the stunning new Butterfly Garden Border Stamp.

Instructions:
1. Apply the Butterfly Garden Border Stamp to the right hand side of a 30cm x 30cm sheet of smooth white cardstock using Jet Black Ranger Archival Ink. Dry with a heat gun. Stick this piece down on a 12” x 12” sheet of aqua cardstock.
2. Colour in the butterflies with a white crayon. Spray the background with a combination of mists such as Kaisermist in Lime Green and Turquoise. Spray with water to create a watercolour effect. Use some scrunched up paper towel to blot away the colour from the white crayon part of the butterflies and any puddles of colour. Dry with a heat gun. Flick some water at the background using your fingertips to create a waterstained effect. Dry again with the heat gun. You will notice when you dry the layout with the heat gun, the heat will melt away the crayon.
3. Stamp some extra butterflies from the Butterflies Rubber Stamp Set using the Jet Black ink on smooth white cardstock. Dry with the heat gun before fussy cutting each butterfly.

4. Add some more stamping to the background using words from the Photography Rubber Stamp Set and the Jet Black ink. Layer on your photo, patterned paper layers as well as title and embellishments. Glue on the extra butterflies. Once dry, lift the wings slightly to add dimension and interest.
Supplies used:
Darkroom Door Butterfly Garden Border Stamp
Darkroom Door Abstract riangles Background Stamp
Darkroom Door Butterflies Rubber Stamp Set
Darkroom Door Photography Rubber Stamp Set
Archival Ink Jet Black
Distress Ink Black Soot
White Crayon

1. Cut a piece of aqua cardstock measuring 15.5cm x 20cm. Fold in half to form the card base.
2. Cut a piece of smooth white cardstock 9.5cm x 15cm. Apply the Abstract Triangles Background Stamp using Jet Black Ranger Archival Ink.
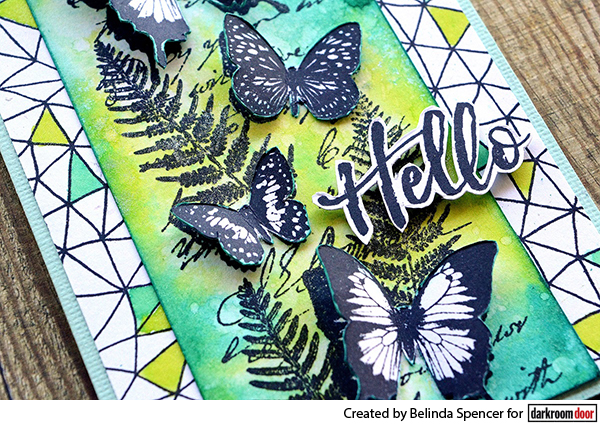
3. Cut another piece of smooth white cardstock 6.5cm x 15cm. Apply the Butterfly Garden Border Stamp using the Jet Black ink. Dry with a heat gun. Apply white crayon to the butterflies. Mist this piece with Kaisermists as per the layout above. Dry with the heat gun. Apply Peacock Feathers Tim Holtz Distress Ink to the edges.
4. Stamp the border stamp again on scrap white cardstock. Cut out the same butterflies as on the misted border stamp piece. Ink the edges with the Peacock Feathers ink. Glue onto the border stamp strip on top of the corresponding butterflies. Glue this piece onto the card front in the centre.
5. Use the Kaisermists with a paintbrush to paint some of the triangles on the Abstract Triangles Background Stamp piece. Stamp the word ‘Hello’ from the Brushed Sentiments Rubber Stamp Set using the Jet Black ink onto scrap white cardstock. Fussy cut the word and then add to the card front using 3D foam.

Supplies used:
Darkroom Door Butterfly Garden Border Stamp
Darkroom Door Abstract Triangles Background Stamp
Darkroom Door Brushed Sentiments Rubber Stamp Set
Archival Ink Jet Black
Distress Ink Peacock Feathers
Thanks for stopping by!
Butterfly Garden Border Stamp Projects