- Products
- Blog
- Stockists
- About
- Contact
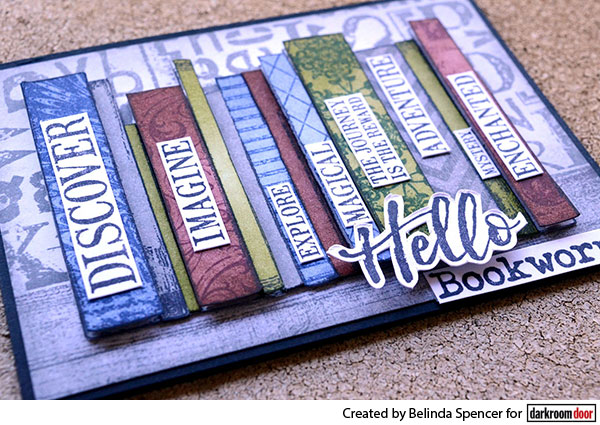
Hi, it’s Belinda Spencer here today to share a layout and a card created using the awesome new Book Spines Frame Stamp. I have used this stamp in two very different ways to show how versatile it is.
Instructions:
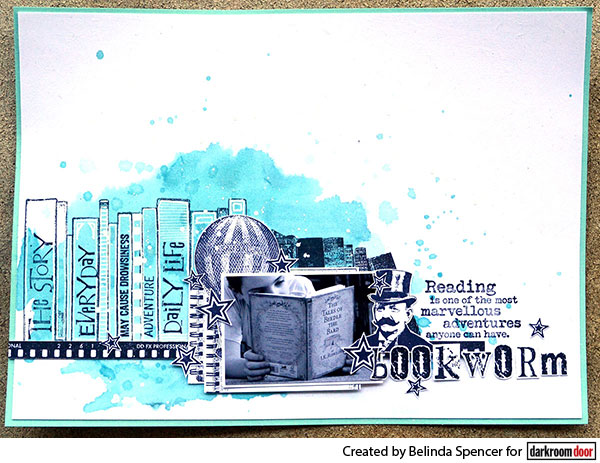
1. Cut a piece of blue cardstock measuring 8½” x 11¾”. Cut a piece of white cardstock measuring 8¼” x 11½” and stick down on the blue cardstock piece.
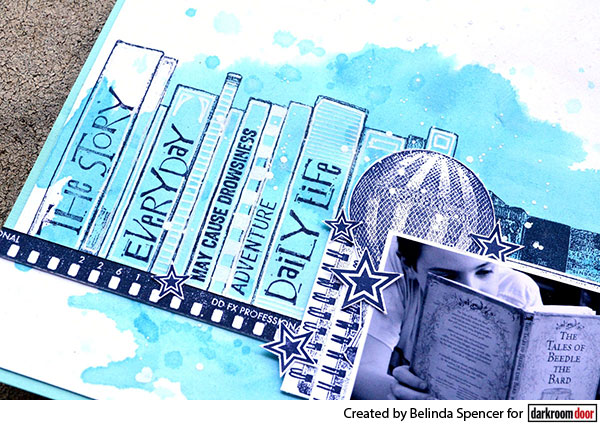
2. Apply the Book Spines Frame Stamp to the bottom left hand side of the layout using Jet Black Ranger Archival Ink. Also stamp some books from the Bookworm Rubber Stamp Set next to the Book Spines using the same ink. Dry with a heat gun. Apply a thin coat of clear gesso to the whole layout and allow to dry.
3. Add a few drops of Tumbled Glass Distress Ink Re-inker to a paint palette and dilute with a little water. Spritz the background with water and then use a soft wet paintbrush to add the colour to the background. Once you are happy with the coverage dry with a heat gun. Add a few splatters with the same ink too. Dry with a heat gun again.
4. Use various stamps from the Everyday Life, Mail Art and Steampunk Rubber Stamp Sets with the Jet Black ink to apply ‘titles’ to the book spines. Use a white paint pen or gel pen to add some doodling to the spines. Stamp a quote from the Bookworm Rubber Stamp Set on the right hand side.
5. Stamp the Filmstrip Border Stamp on some extra smooth white cardstock using the Jet Black ink. Cut out one side and add to the layout at the bottom of the books to form a ‘shelf’. Also stamp the Spiral Notebook Frame Stamp, the hot air balloon and gentleman from the Steampunk set, some stars from the Stars set as well as the title using the Alphabet Medley set. Fussy cut all images and add to the layout along with the photo.
Next here is a card idea:
Instructions:
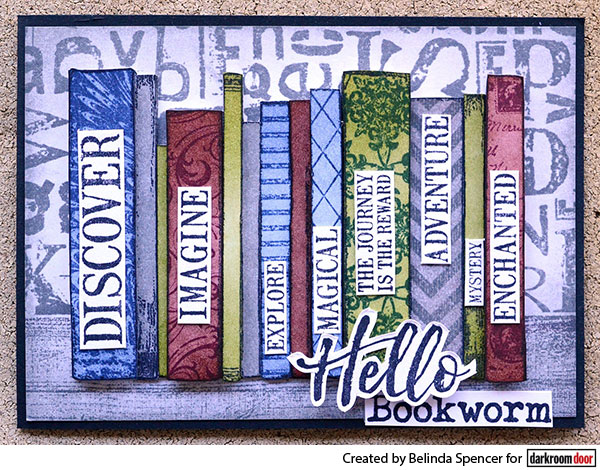
1. Cut a piece of black cardstock measuring 10.5cm x 29cm. Fold in half to form the card base.
2. Cut a piece of smooth white cardstock measuring 10cm x 14cm. Apply the Woodgrain Background Stamp at the bottom of this piece using Watering Can Ranger Archival Ink. Stamp the Alphabet Background Stamp in the top section using the same ink. Dry with a heat gun. Use an ink blending tool to apply Hickory Smoke Distress Ink around the edges. Stick down on the card base.
3. On an extra piece of smooth white cardstock, use Jet Black Ranger Archival Ink to stamp the Book Spines Frame Stamp twice. Cut out one whole Book Spines image and apply the Hickory Smoke ink using the ink blending tool. Stick down on the card front.
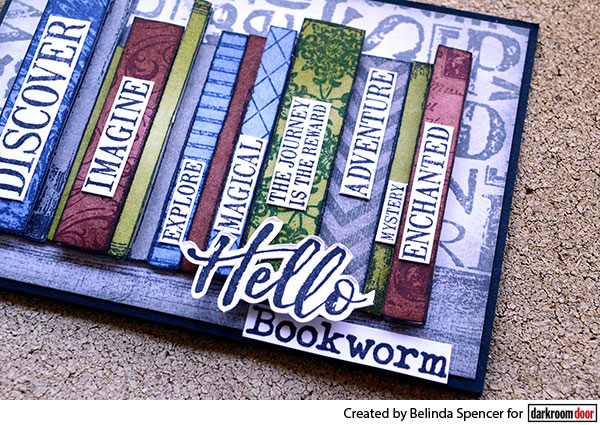
4. From the second stamped image, cut out individual book spines. Use various Texture Stamps and Archival Inks to add patterns to the books. Use the ink blending tool to ink with co-ordinating Distress Inks. Add to the card front using 3D foam under some of the books.
5. Apply the Journey Word Block Stamp to the extra white cardstock using the Jet Black ink. Cut out some of the words to use as titles on the book spines and stick down on the spines. Stamp a sentiment and add to the card.
Supplies used:
Darkroom Door Book Spines Frame Stamp
Darkroom Door Spiral Notebook Frame Stamp
Darkroom Door Journey Word Block Stamp
Darkroom Door Filmstrip Border Stamp
Darkroom Door Woodgrain Background Stamp
Darkroom Door Alphabet Background Stamp
Darkroom Door Alphabet Medley Rubber Stamp Set
Darkroom Door Bookworm Rubber Stamp Set
Darkroom Door Brushed Sentiments Rubber Stamp Set
Darkroom Door Everyday Life Rubber Stamp Set
Darkroom Door Mail Art Rubber Stamp Set
Darkroom Door Stars Rubber Stamp Set
Darkroom Door Steampunk Rubber Stamp Set
Darkroom Door Chevron Texture Stamp
Darkroom Door Marbling Texture Stamp
Darkroom Door Postcards Texture Stamp
Darkroom Door Star Texture Stamp
Darkroom Door Swirls Texture Stamp
Darkroom Door Weathered Stripes Texture Stamp
Archival Ink: Cobalt, Jet Black, Library Green, Plum, Watering Can
Distress Ink: Aged Mahogany, Faded Jeans, Hickory Smoke, Peeled Paint
Distress Re-inker Tumbled Glass
Thanks so much for stopping by the blog today!
Cheers
Belinda
Book Spines Frame Stamp Layout and Card